Using AutoHotKeydll with C# (in a WPF application)
EDIT: Ah yes, I knew I had to add disclaimers of all sorts. Here is one: yes you can call the the win32 dll directly in C#- which I assume most C# devs know about. The example below is based of a script I wrote earlier with AHK so I used what i had lying around. AHK is for desktop automation with keyboard shortcuts (‘hot keys’), and there is a lot you can do. This is an *example* of using the DLL with the wrapper, and a Hello World seemed too boring. The example shows how to create a function for changing screen size, and then creating hot keys for for desired screen resolution.
Disclaimer 2: You can download the AHK executable if you just want to write scripts- you don’t need to use the DLL as explained in this old post of mine: What is AutoHotKey, macros, automation software, hotkeys and scripts?
Disclaimer 3: I’ll update the post with something more fun at some point
In C# you could also have fun with the following for global hot keys if you wanted to have the solution entirely in C#:
[sourcecode language=“csharp”]
[DllImport(“user32.dll”)]
private static extern bool RegisterHotKey(IntPtr hWnd, int id, uint fsModifiers, uint vk);
[DllImport("user32.dll")]
private static extern bool UnregisterHotKey(IntPtr hWnd, int id);
[/sourcecode]
Anyway, enough disclaimers, here is the AHK dll example.
As you probably know I’m a big fan of the desktop automation tool AutoHotKey, and while I had Danny and Jonas over for another night of coding I decided to try out the DLL. There is a lovely wrapper provided by Andrew Smith that manages the interop so we don’t have to register the DLL- which certainly makes it easier to get up and running. This is a little guide on setting up a simple project based of the screen switcher script I shared a year back. Switching screen resolution can be done directly in C#, but in this example we are simply creating hot keys for specific screen resolutions, a combination of CTRL + chosenNumber. Error handling and validation omitted (for example, make sure the user doesn’t try to set the same hotkey twice). I’m sure you can think of something more fun to do with AHK but my blood sugar is low :P
Grab the source code for the wrapper on GitHub here
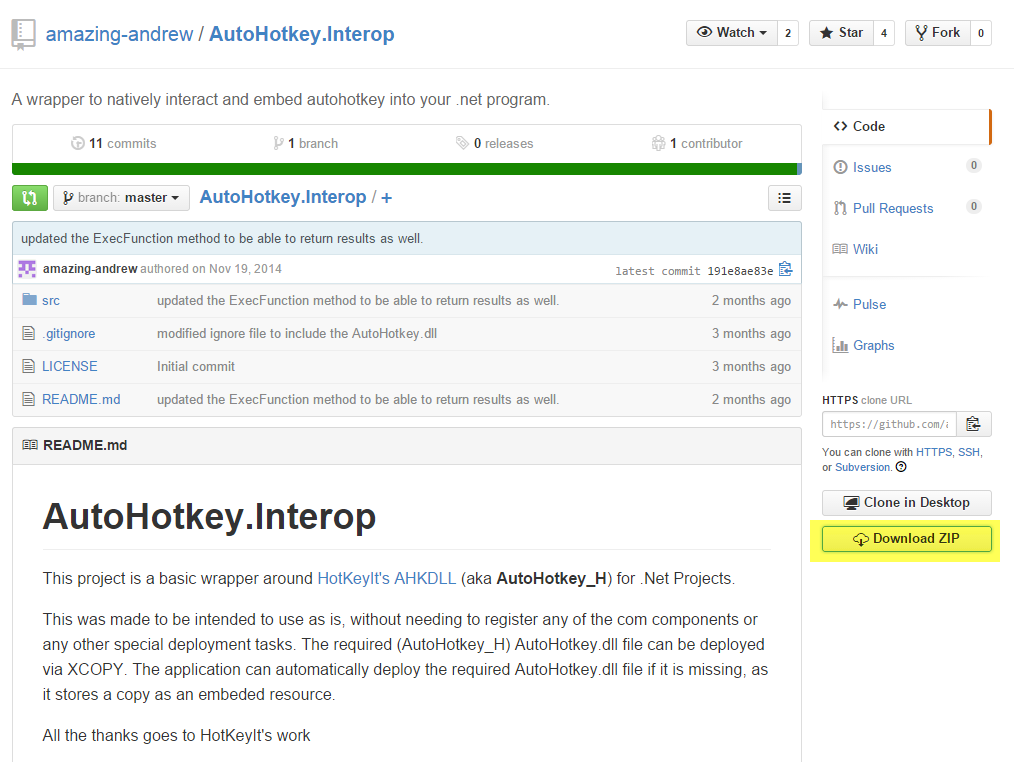
Add a reference in your project to the AutoHotKey.Interop.DLL. If it is missing from source code downloaded you might have to build the interop project to create the DLL.
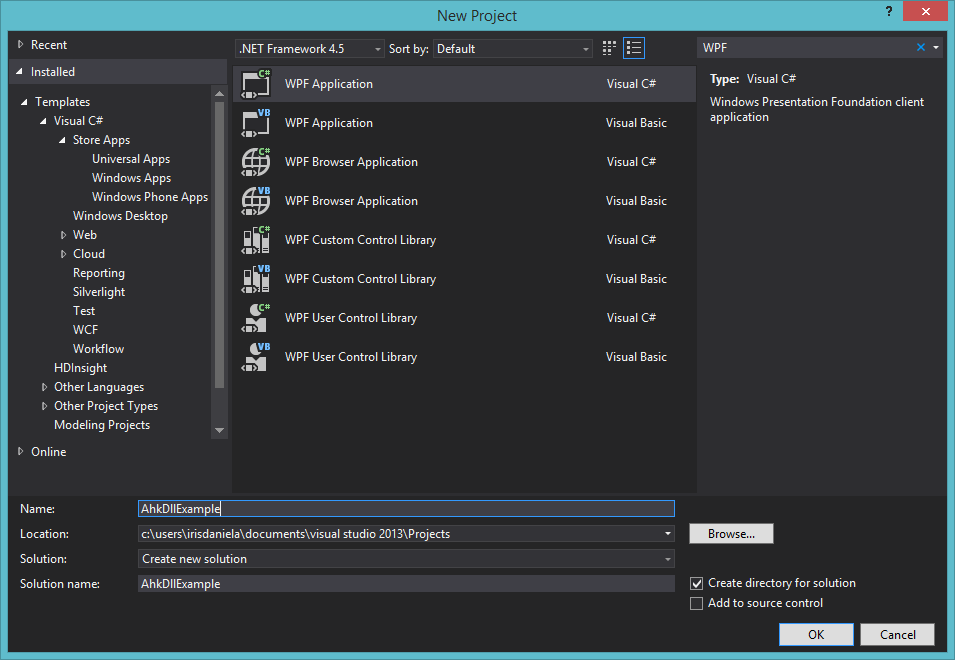
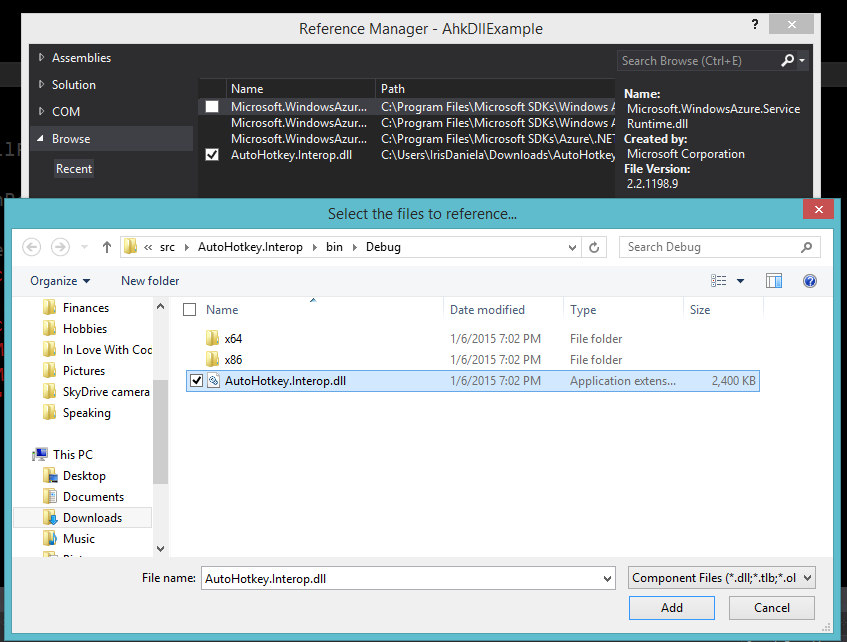
Once you have the DLL you can simply create a new instance of AutoHotkeyEngine. It has a few functions, well documented on the GitHub page. We are only going to use the ExecRaw() function which executes the string passed in (script).
Here is the code for my simple example:
[sourcecode language=“csharp”]
using System;
using System.Windows;
using AutoHotkey.Interop;
namespace AhkDllExample
{
public partial class MainWindow
{
private readonly AutoHotkeyEngine _ahkEngine = new AutoHotkeyEngine();
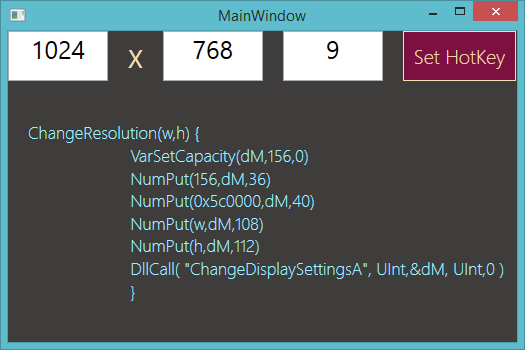
private const string ScreenSwitcherFunction = @"ChangeResolution(w,h) {
                VarSetCapacity(dM,156,0)
                NumPut(156,dM,36)
                NumPut(0x5c0000,dM,40)
                NumPut(w,dM,108)
                NumPut(h,dM,112)
                DllCall( ""ChangeDisplaySettingsA"", UInt,&dM, UInt,0 )
                }";

public MainWindow()
{
    InitializeComponent();

    \_ahkEngine.ExecRaw(ScreenSwitcherFunction);

    OutputTextBlock.Text = ScreenSwitcherFunction;
}

string CreateHotKey()
{
    return string.Format(@"^{0}::ChangeResolution({1},{2})return",
                        int.Parse(nr.Text),
                        int.Parse(x.Text),
                        int.Parse(y.Text));
}

private void OnSetHotKey(object sender, RoutedEventArgs e)
{
    var hotKey = CreateHotKey();
    \_ahkEngine.ExecRaw(hotKey);
    OutputTextBlock.Text = "Hot Key set : " + Environment.NewLine;
    OutputTextBlock.Text += hotKey;
}
}
}
[/sourcecode]
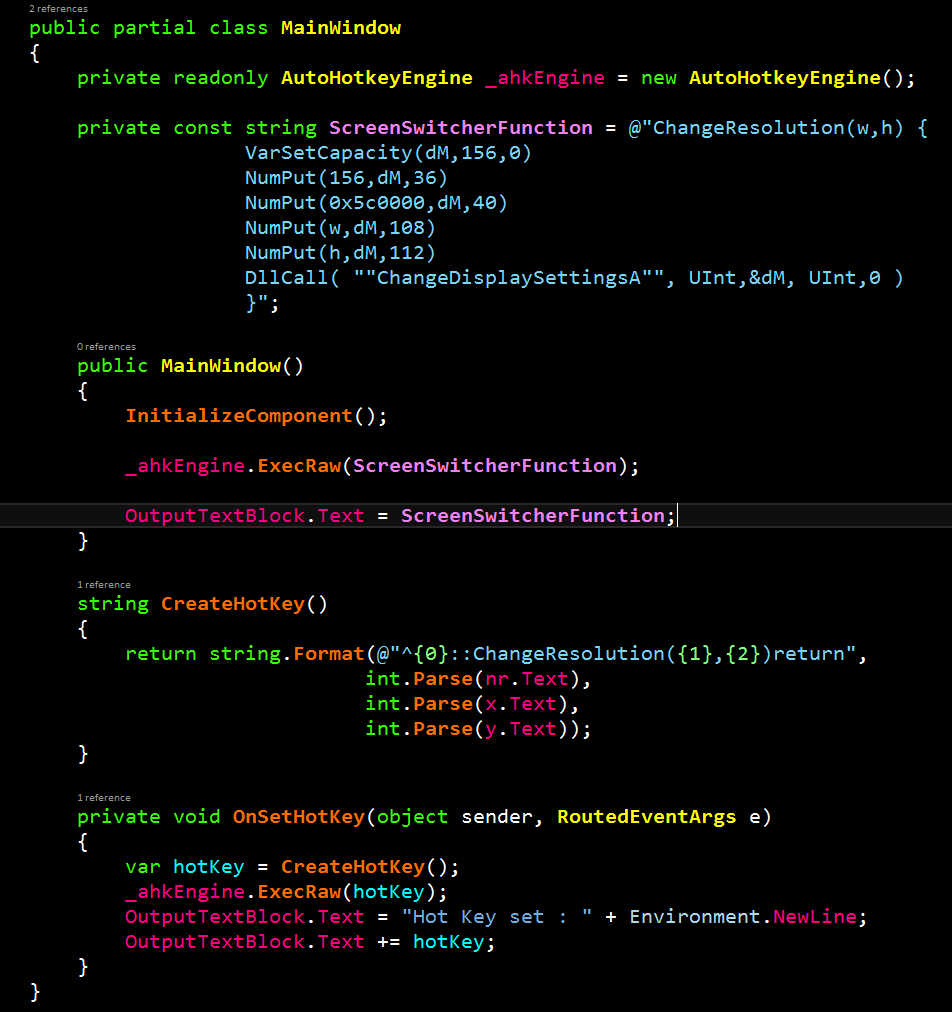
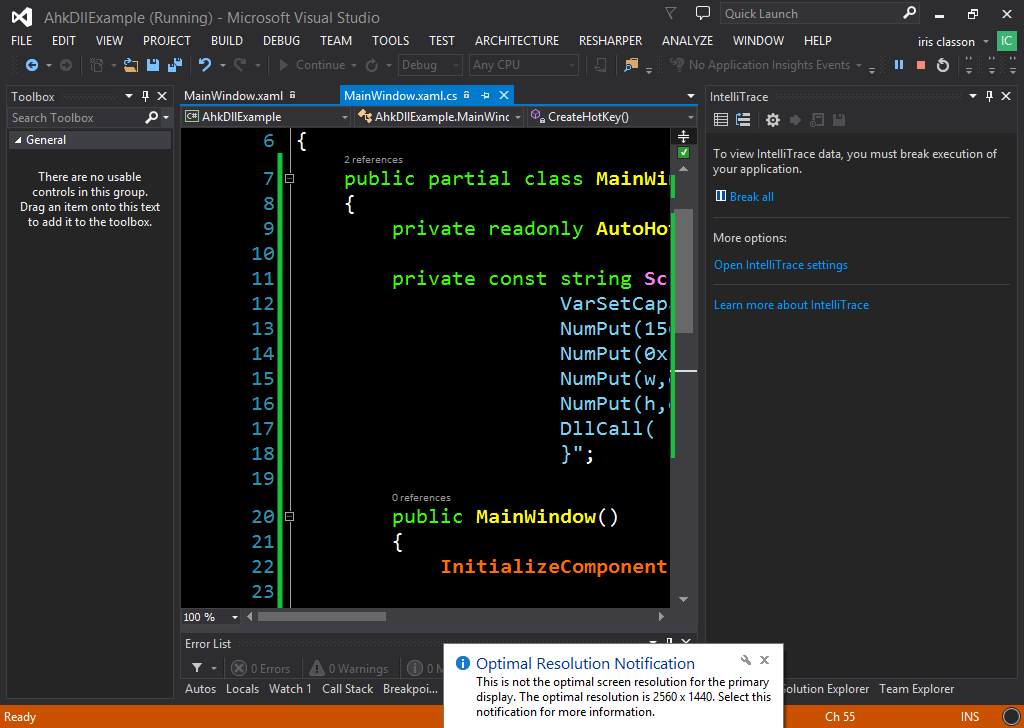
Image of the code, in case WordPress messes up my code again:
And the View for those that aren’t familiar with XAML:
[sourcecode language=“xml”]
</Grid>
[/sourcecode]
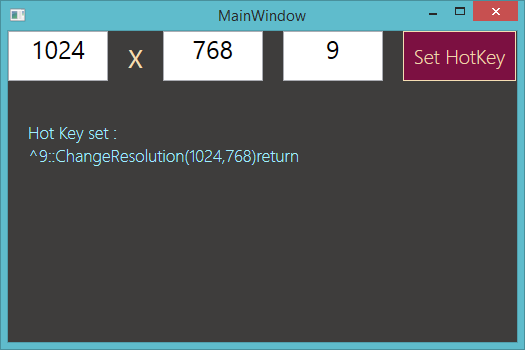
Once the key combo has been set I can use CTRL + 9 (or something else if values are changed) to change my screen resolution. Result:
Happy coding!
Comments
Thank you !
Last modified on 2015-01-06
