Changing the Pivot Header template in Windows Phone 8 and Windows Phone WinRT
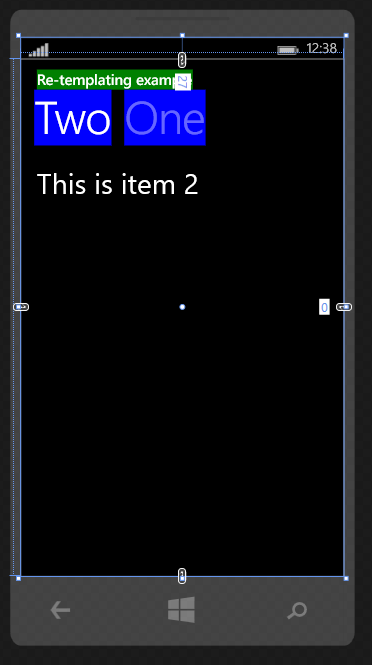
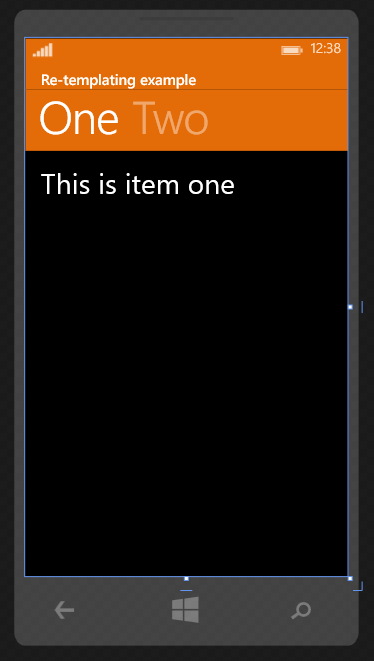
For some odd reason my answer on SO on this seems to be somewhat popular and I’ve had several requests to update the answer which originally only covered Windows Phone 8 to be updated for Windows Phone Windows Runtime (8.1).
I finally got around to doing that as my friend Jonas who is still visiting me here in the UK and I were watching some stuff on his computer (Hell’s Kitchen as he loves to cook).

To easily re-template a control check out an older blog post of mine here: Example WinRT/Metro App: How to edit default template in Visual Studio 2012 and Blend
There are several ways you can change a template/style depending on the result you want, and here are two ways shown for both Windows Runtime (WP only) and Windows Phone 8 (Silverlight). Please keep in mind that you usually want to keep resources outside of the page to avoid cluttering, and to be able to reuse a style. By not setting the x:key attribute the style is applied globally.
First example:

[sourcecode language=“xml”]
<Pivot.HeaderTemplate>
</Pivot.HeaderTemplate>
<Pivot.TitleTemplate>
</Pivot.TitleTemplate>
[/sourcecode]
Second example, please notice that the ContentControl is wrapped in another element.

[sourcecode language=“xml”]
<Page.Resources>

[sourcecode language=“xml”]
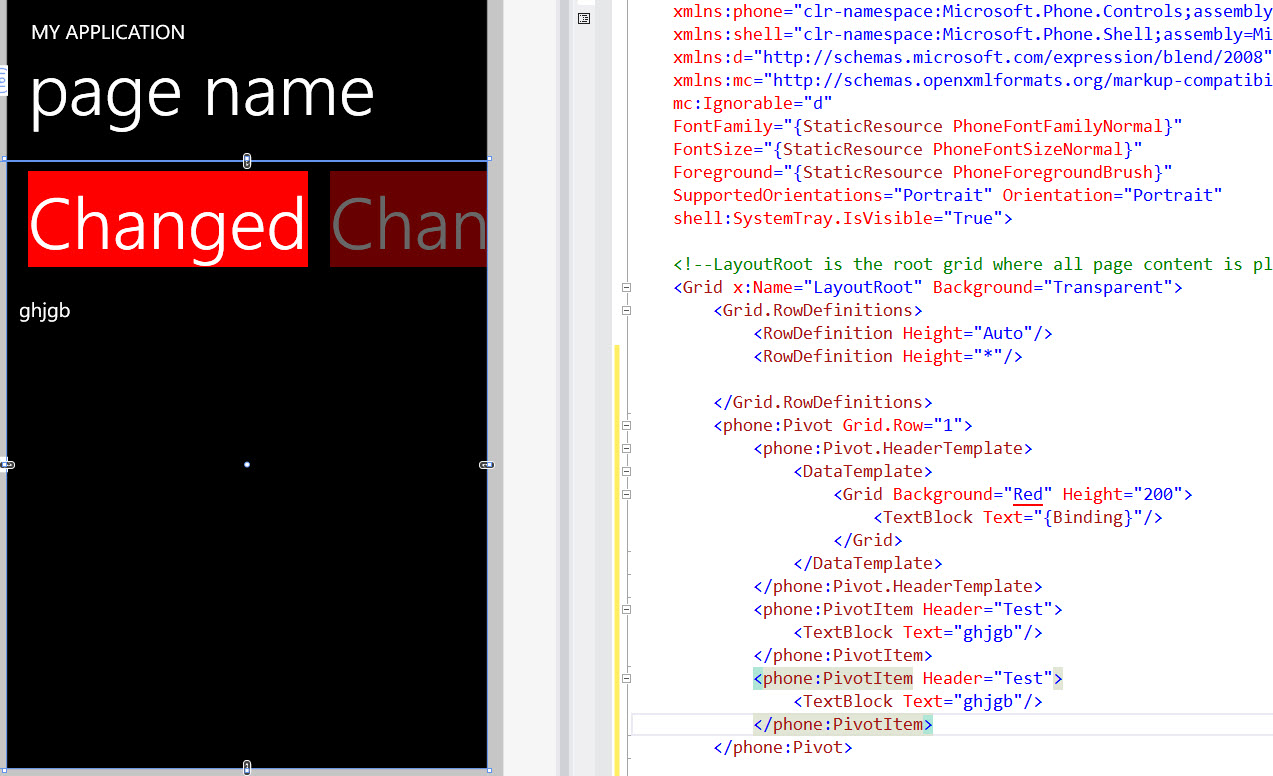
<phone:Pivot Grid.Row=“1”>
phone:Pivot.HeaderTemplate
</phone:Pivot.HeaderTemplate>
<phone:PivotItem Header=“Test”>
</phone:PivotItem>
<phone:PivotItem Header=“Test”>
</phone:PivotItem>
</phone:Pivot>
[/sourcecode]
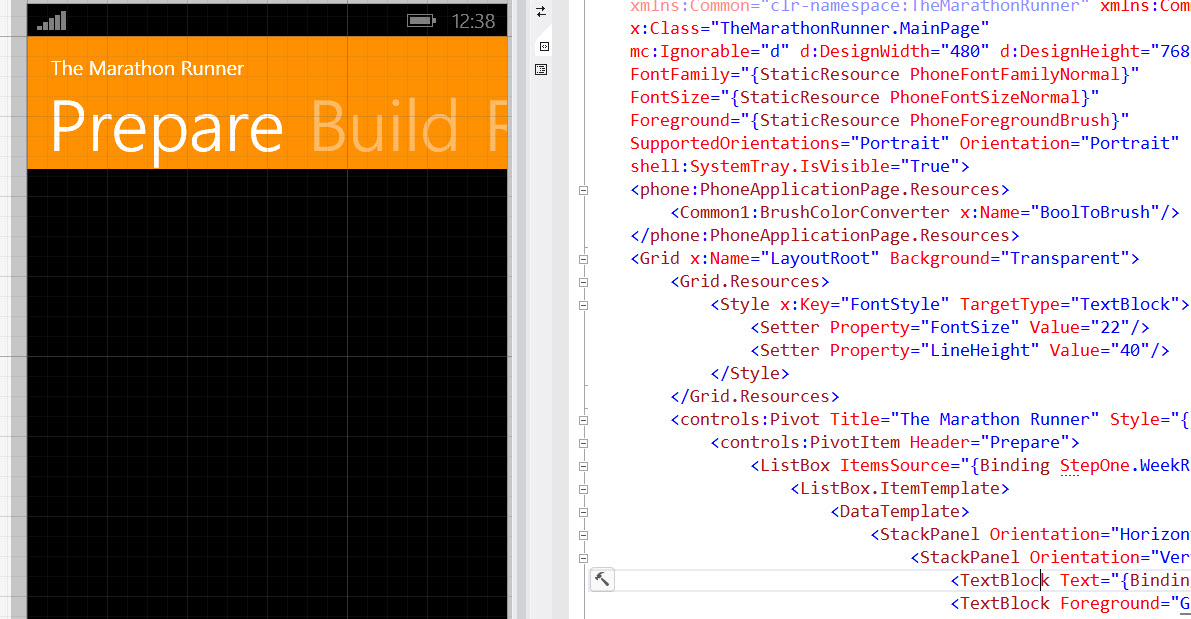
And the second example

[sourcecode language=“xml”]
[/sourcecode]
Comments
Last modified on 2015-01-03
