Windows Runtime Optical Character Recognition and Speech Synthesis- adding additional language support
This post is a continuation of the Windows Runtime Optical Character Recognition I posted a month back. By default the Windows Runtime Optical Character Recognition library supports English. The resource file for English is added to the project when the Nuget package has been added, under a folder called OcrResources and the file itself called MsOcrRes.orp. To add support for additional languages (22 languages supported) we need to regenerate the resource file with the selected languages, and for speech synthesis we need to add the desired language to the OS and verify that it is installed.
I have decided to add Japanese, as it would had been rather handy to have that during my long vacation in Japan. Knowing how difficult Japanese also means that it’s difficult to get very accurate parsing of the text, and at a later point translation (not covered here, but in a different post).
Besides the resource file generated for us when we download the Nuget package a tool is also added to the solution, found under the packages folder.
OCRExample\packages\Microsoft.Windows.Ocr.1.0.0\OcrResourcesGenerator\OcrResourcesGenerator.exe
Adding additional languages for the Optical Character Recognition
- Generating resource files
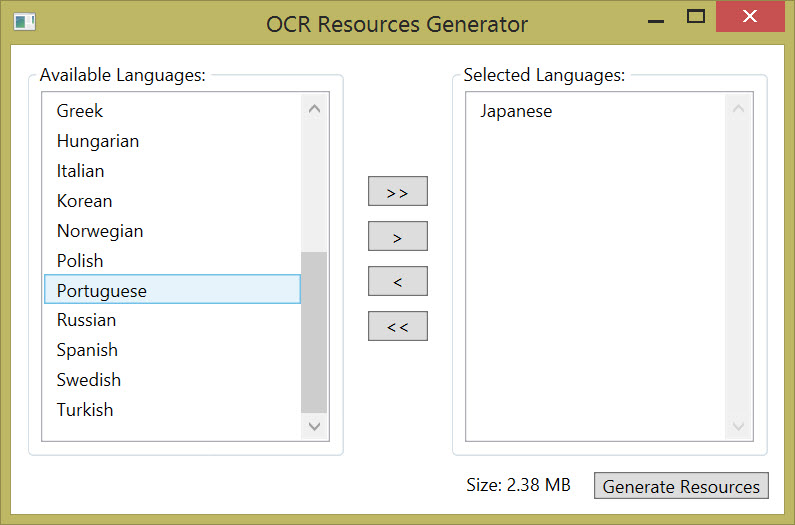
Run the OcrResourceGenerator executable and simply select the languages you want to add support for, making sure you only pick those you will be using as you don’t want to bloat the applications unnecessarily.

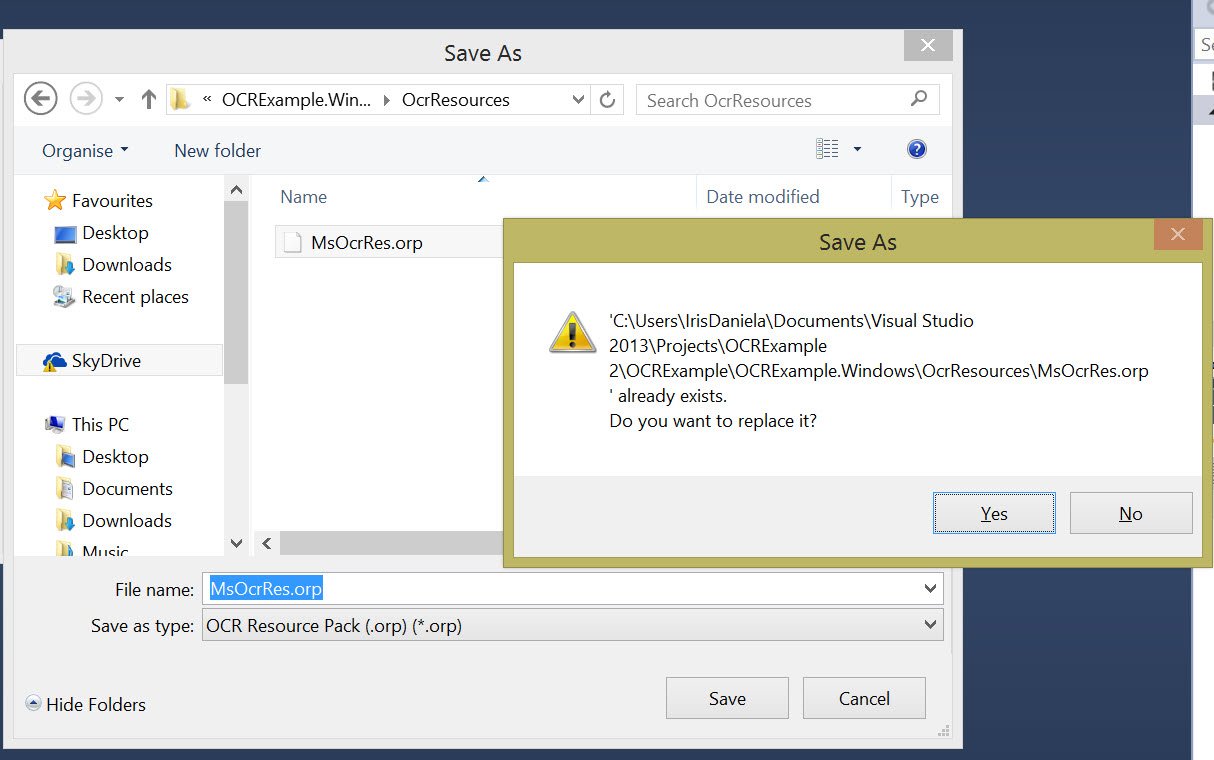
- Replace existing resource file
Save the file by overwriting the previous resource file, in both projects if it is a Universal Windows Store App and you have targeted both Windows Store and Windows Phone.
- Change engine language
Now that you have the file in place you can go ahead and change the OCR engine language where you need the added language(s). For me it would be:
[sourcecode language=“csharp”]
//
OcrEngine _engine = new OcrEngine(OcrLanguage.Japanese);
//
[/sourcecode]
As in this example I will be using Japanese only.
Assuming we have already verified that the image is within boundaries the extraction of the text would be along the lines of this (error handling code omitted)
[sourcecode language=“csharp”]
private async Task ExtractTextAsync(StorageFile imageFile)
{
var imageProperties = await imageFile.Properties.GetImagePropertiesAsync();
using (var imgStream = await imageFile.OpenAsync(FileAccessMode.Read))
{
    var bitmap = new WriteableBitmap((int)imageProperties.Width, (int)imageProperties.Height);
    bitmap.SetSource(imgStream);

    OcrResult ocrExtract = await
        \_engine.RecognizeAsync((uint)bitmap.PixelHeight, (uint)bitmap.PixelWidth,
            bitmap.PixelBuffer.ToArray());

    OutPut.Text = "";

    foreach (OcrWord word in ocrExtract.Lines.SelectMany(line => line.Words))
    {
        OutPut.Text += string.Format(" {0}", word.Text);
    }
}
return OutPut.Text;
}
[/sourcecode]
Adding Text-to-Speech with the SpeechSynthensiser
- Adding Text-to-Speech
The next step, if you wish to use Text-to-Speech is to make use of the Speechsynthesiser by creating a new instance of the class, and setting the appropriate Voice. Do not assume the user has the language installed, and provide feedback if it is missing. I’ve omitted that part of the code for clarity:
[sourcecode language=“csharp”]
private async Task Speak(string text)
{
await this.Dispatcher.RunAsync(CoreDispatcherPriority.Normal, async () =>
{
using (var synth = new SpeechSynthesizer())
{
synth.Voice = SpeechSynthesizer.AllVoices.FirstOrDefault(x => x.Language == “ja-JP”);
var stream = await synth.SynthesizeTextToStreamAsync(text);
        var media = new MediaElement();
        media.SetSource(stream, stream.ContentType);
    }
});
}
// Somewhere else we can do something along the lines of:
// var text = await ExtractTextAsync(file);
// await SpeakAsync(text);
[/sourcecode]
You need a MediaElement to output the audio. This is done by creating a new instance of or using an existing instance of the MediaElement class and setting the source to the generated stream the function SynthesizeTextToStreamAsync returns.
- Adding the language to the operating system
On Windows Phone a new language is added under Languages found under Settings. Make sure that after you select English as main language if you are adding a language you do not speak, as after restarting the phone or emulator the language will be set to the otherwise new default. I have a funny story there as I managed to set my phone language to Japanese and it was by pure coincidence I was with a friend that speaks some Japanese that I managed to change it back to English. That person was Daniel, one of my good developer friends that I travelled to Japan with.
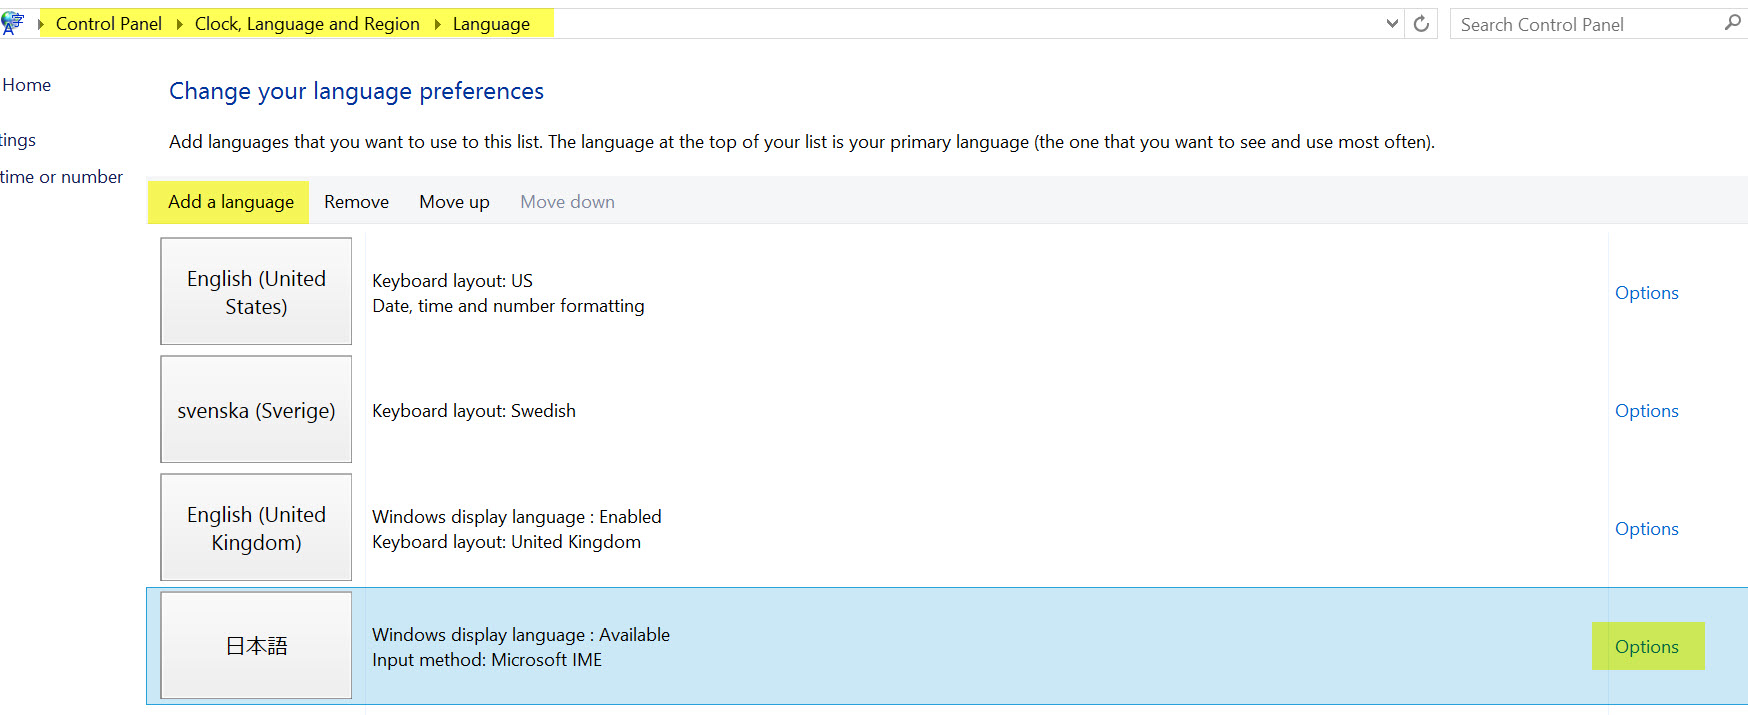
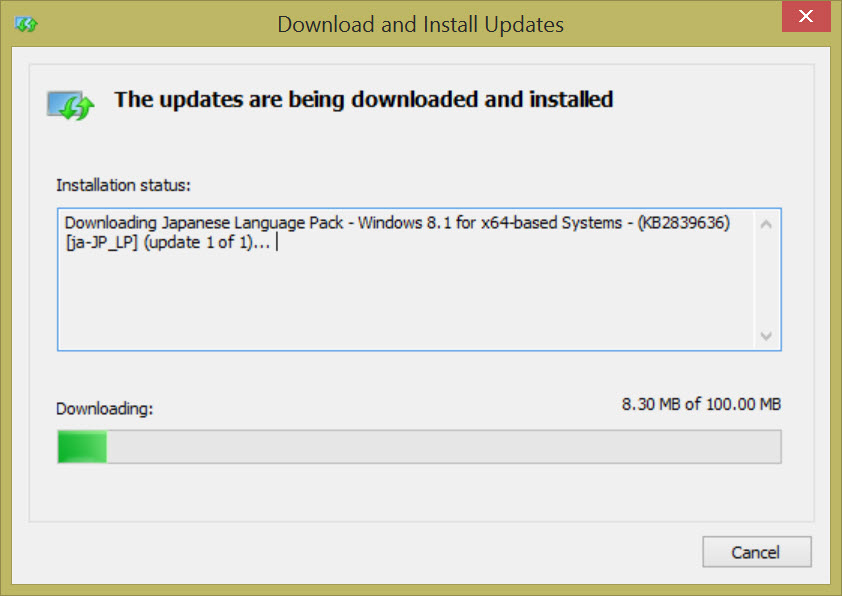
On Windows you have to go to the control panel, and Language select Add Language. After the language is added you select Options, then Install Language Pack. This might take a while, so let it run.
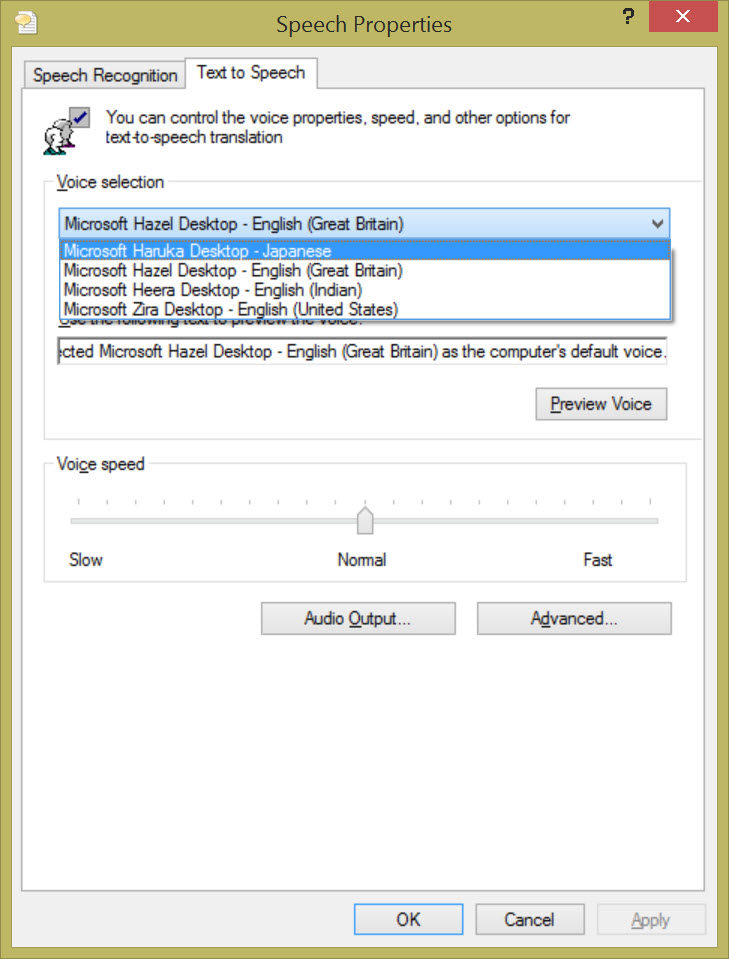
To confirm that the language has indeed installed on your computer or tablet hit Windows Key and type in Change Speech Properties. This opens up Speech Properties, and the language should be visible under languages.
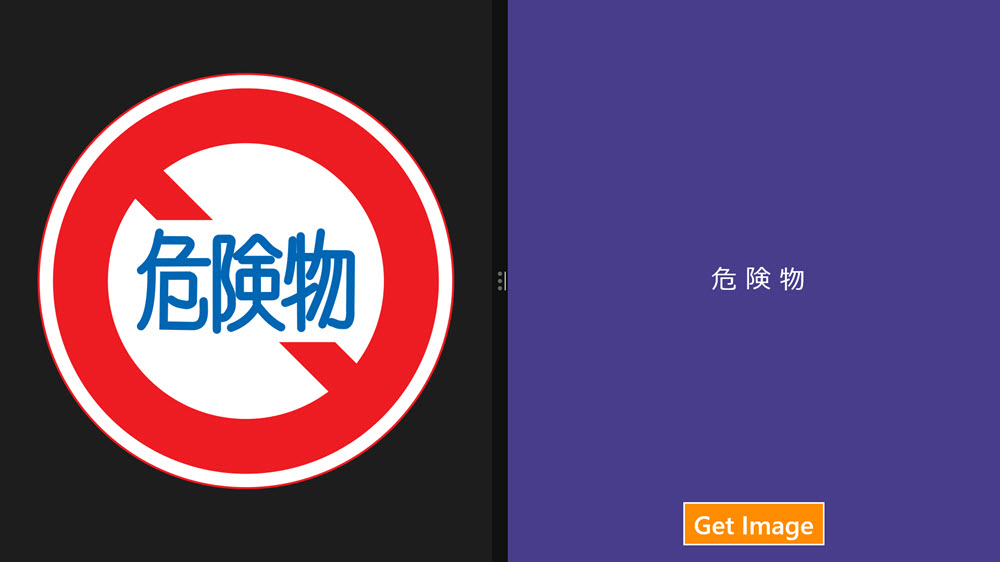
With everything configured you should now be able to run the application and have the text extracted in the new language and outputted as text and audio. In the image below you can see the application at work, grabbing the text from a road sign.
A natural next step would be to add some translation I reckon, but there are a few more things I would like to do before I do that.
Comments
Have you done much testing with OCR on Windows Phone?  I'm curious about the performance/quality of the results.  I have an application coming up that could benefit from OCR, and I would love to use on-device instead of cloud based.

Thanks, and looking forward to your responses.

Thanks,
Daniel
if you don't like to install ocr software to your computer, you can try this free online ocr tool
Last modified on 2014-11-15
