Making your own (DIY) FitBit One charger
Disclaimer
I’m not an electrician, have no formal education whatsoever, and if you try this you and nobody else is responsible for whatever happens. This was created in a moment of despair ;)
I lost the charger to my FitBit One. Surprise. Also, I lost the Bluetooth device, but I never log in anyway. The charger I however need. So what do I do? Well, I didn’t want to fork out for 30$ for a new one, I wanted it charged *NOW*. The wait sucks more than the money.
And I have a thing for DIY. One of my most popular posts is actually a DIY, it’s this one:
So here is an (ugly?) hack. My first attempt, the prototype- was a very nasty hack (but worked). Images for that one is at the end of the post, please choose method one ;)
I wanted to make a charger I could reuse and make out of what I had at home. I used a USB cord and electrical tape, although I have that at home I purchased the items to check the price, it cost me 10USD. Used:
Electrical tape (two colors, but you can use a marker for color)
Standard USB cable
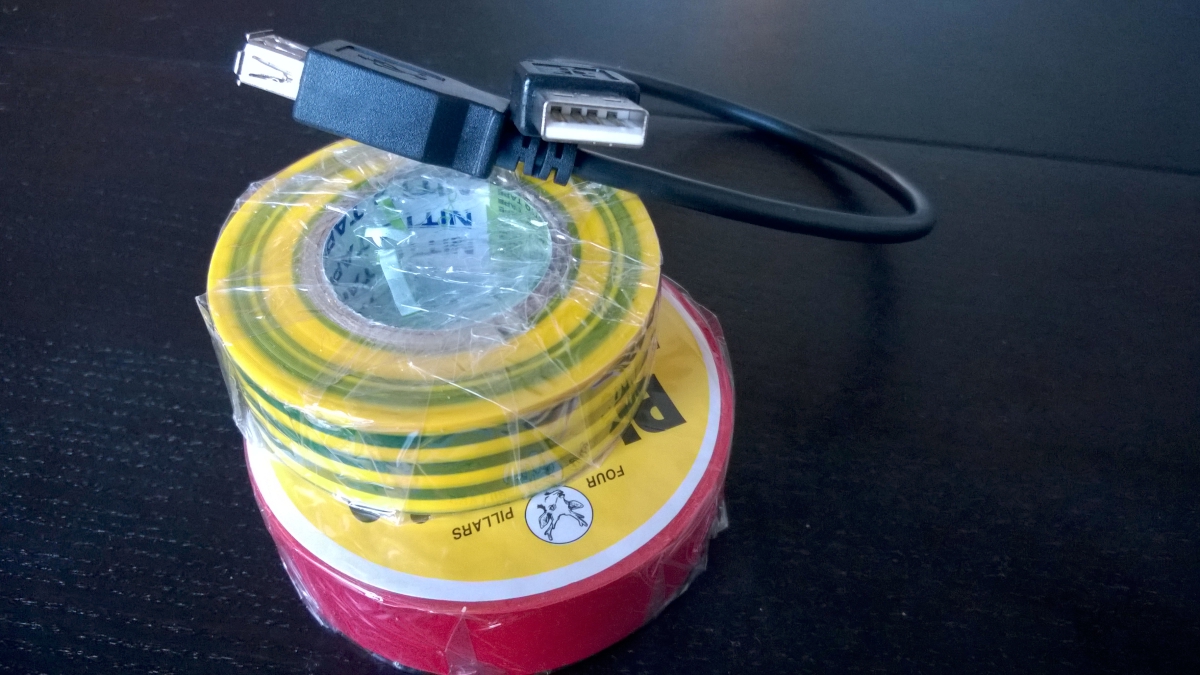
I also recommend using a USB charger and not the USB port on your computer in case you blow the port. A portable charger is pretty sweet as well, and those can be quite cheap to purchase and make a good travel companion for the FitBit.
Specs
The FitBit One uses a standard Micro USB charger, those chargers delivers 5V. The FitBit One has two connector points. On the right the one that needs to be supplied with power, to the left the ground connector is.
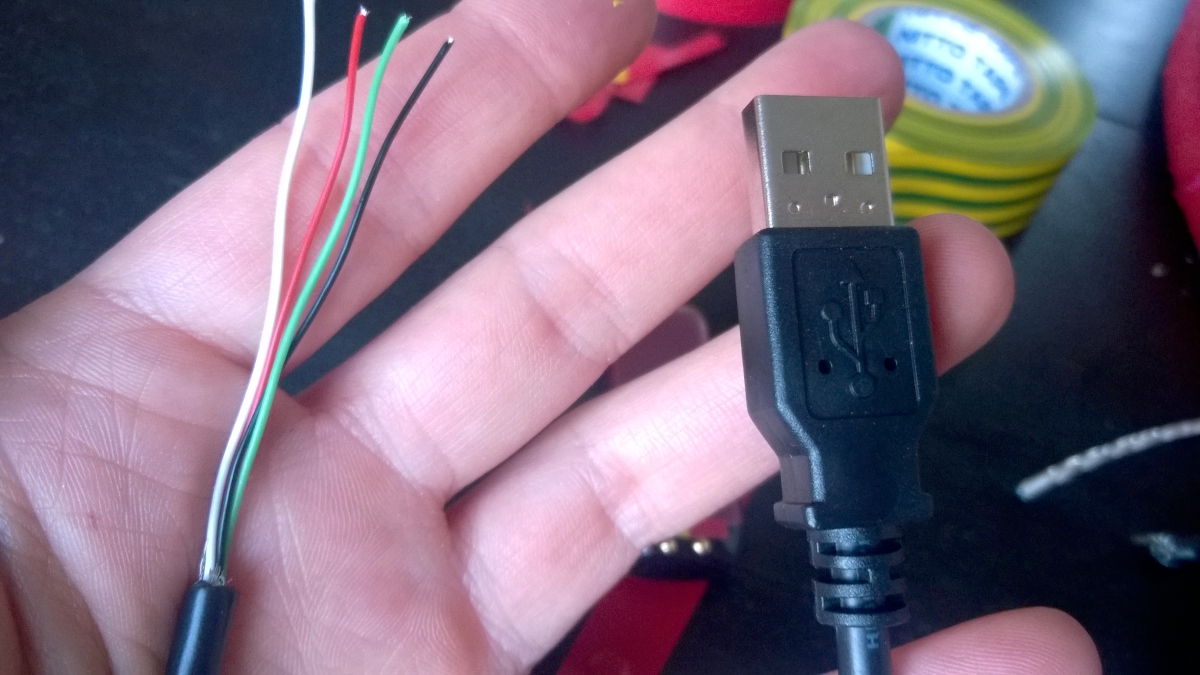
If you split a USB cable you will see four tiny cables:
Red: Power +5V DC
Black: Ground
Green: Data –
White: Data +
We need to connect the red cable to the + connector on the FitBit One, and ground- to well, ground. The two cables should not make contact, and they have to both be connected before we plug the charger in whatever will deliver the power.
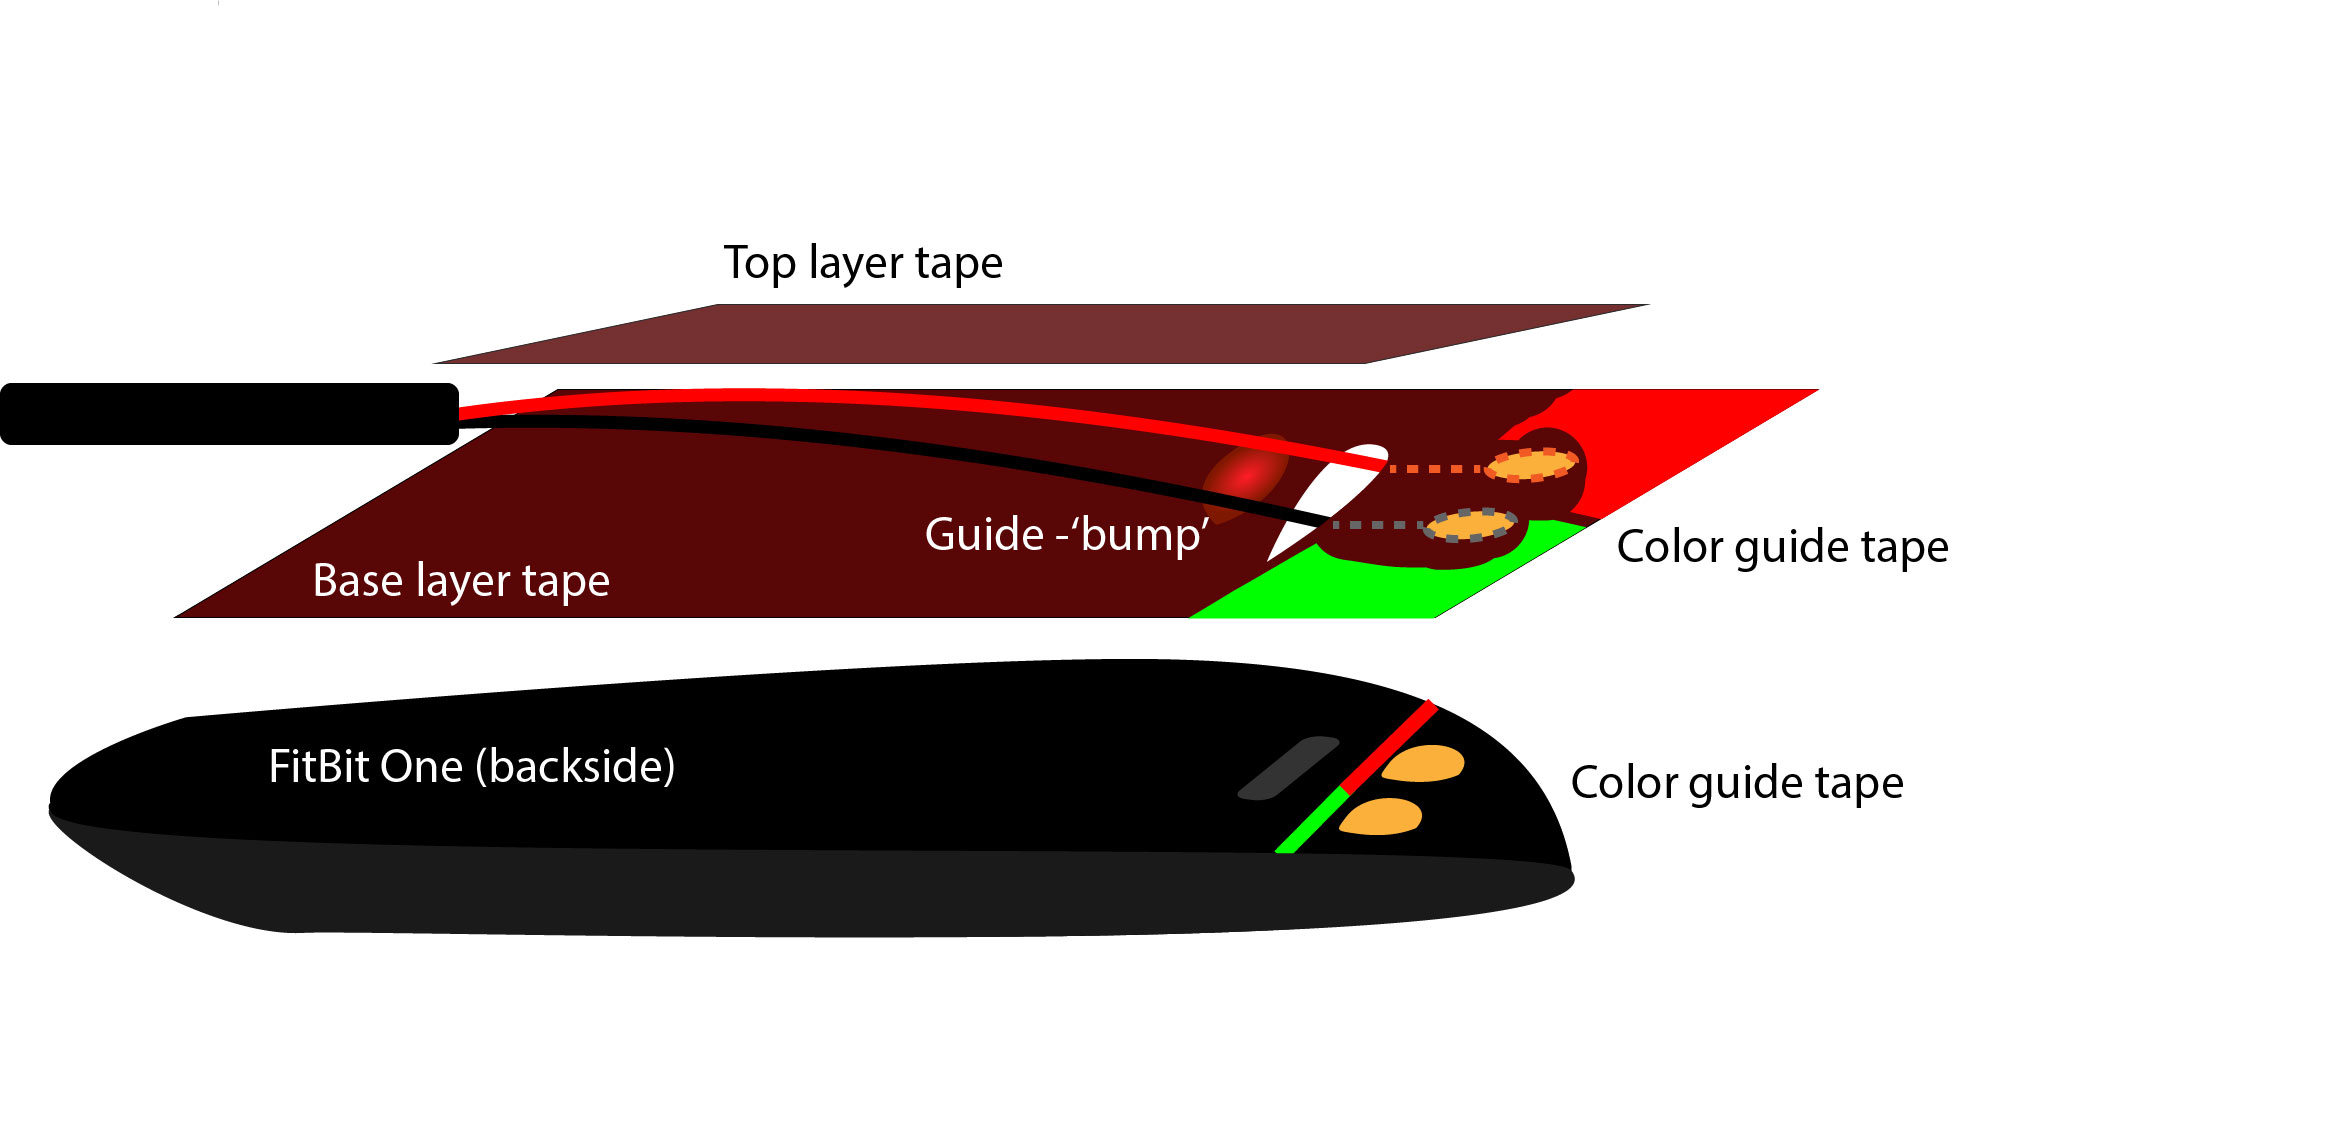
First we make a strip that will be the charger itself. The strip has to be taped in place for charging. We also want to mark the strip and the FitBit for the cables, and red is for power (phase conductor), while green and yellow combo conductor is for ground (North US and Europe as far as I know).
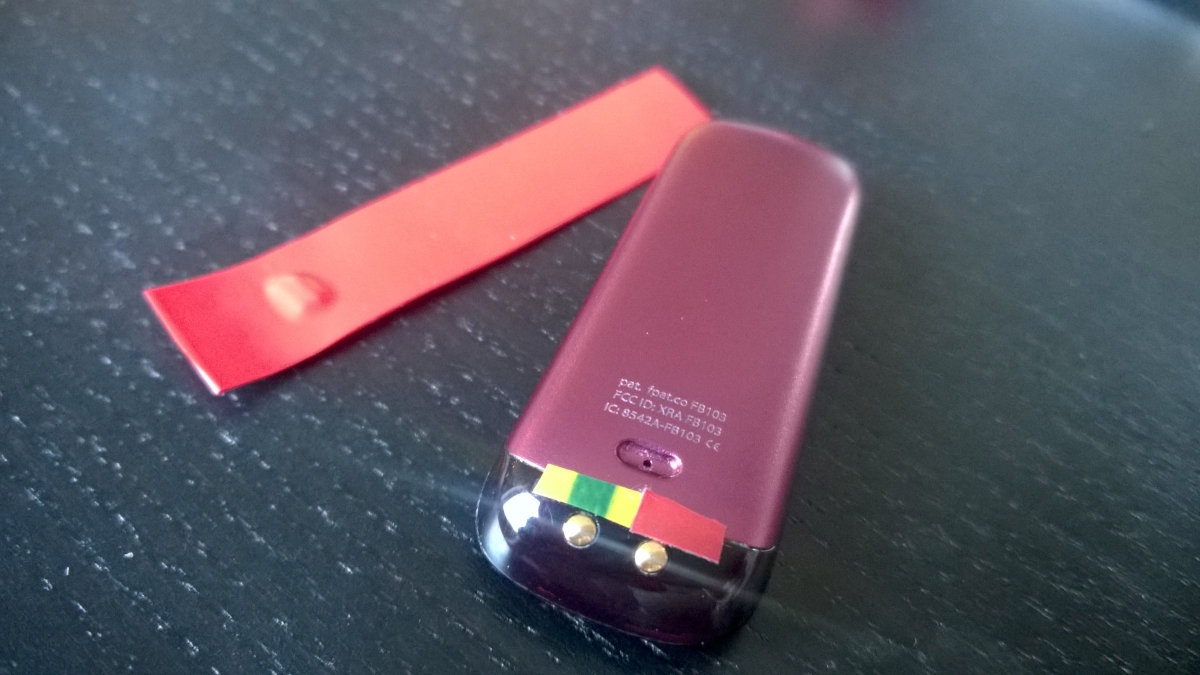
Since its important that we have both the conductors attached at the same time we need to find a way to place them right. The FitBit has a dent close to the metal connections, and we’ll make a small bump on our strip that can fit the dent.
Then we peel back the cable and cut of the data wires a little bit longer than the FitBit (the thick cable is too bulky to fit on the strip), the green and white. The next step is to remove the insulation on the top part of the red and black cable. I don’t have a clipper for this, so I simply used a box cutter and made an ever so small cut/dent around the cable and used my teeth to pull of the cable (yes my teeth) carefully. Then loop the wires that are exposes, to make two round patches that will be used to connect to the FitBit connectors.
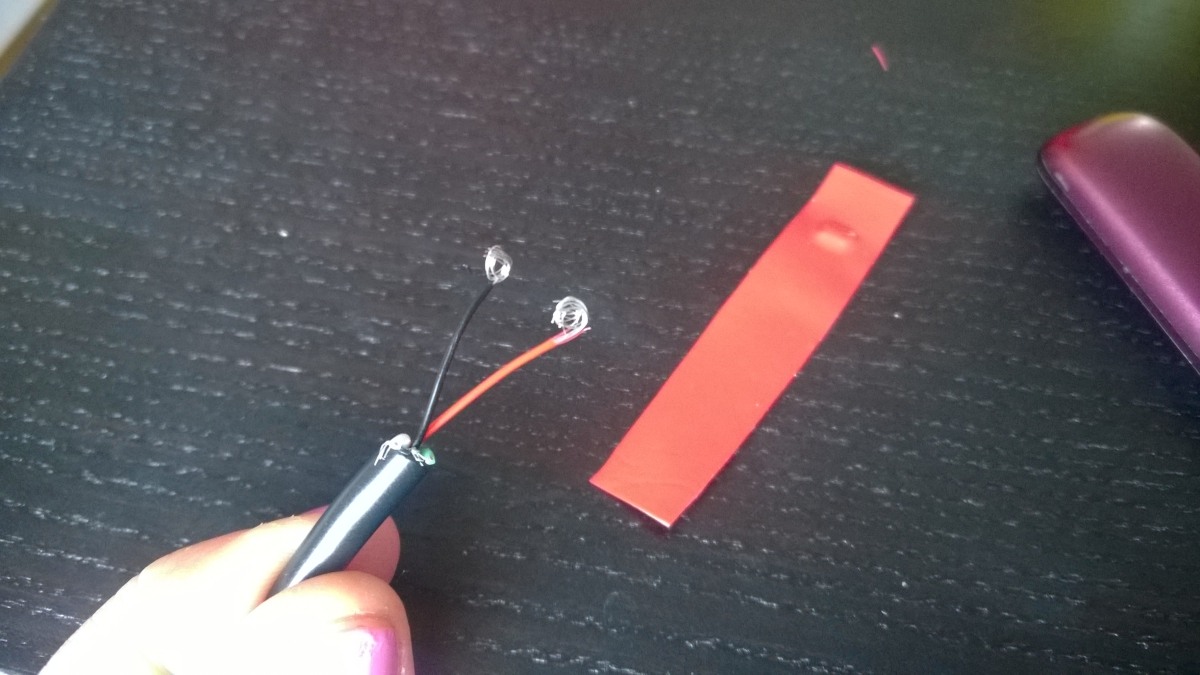
The two cables are taped on top of the strip, going through a top hole just after the bump and are taped into place with tiny tape strips on the underside of the tape. Use the bump placed on the FitBit dent to measure where they should be before taping into place.
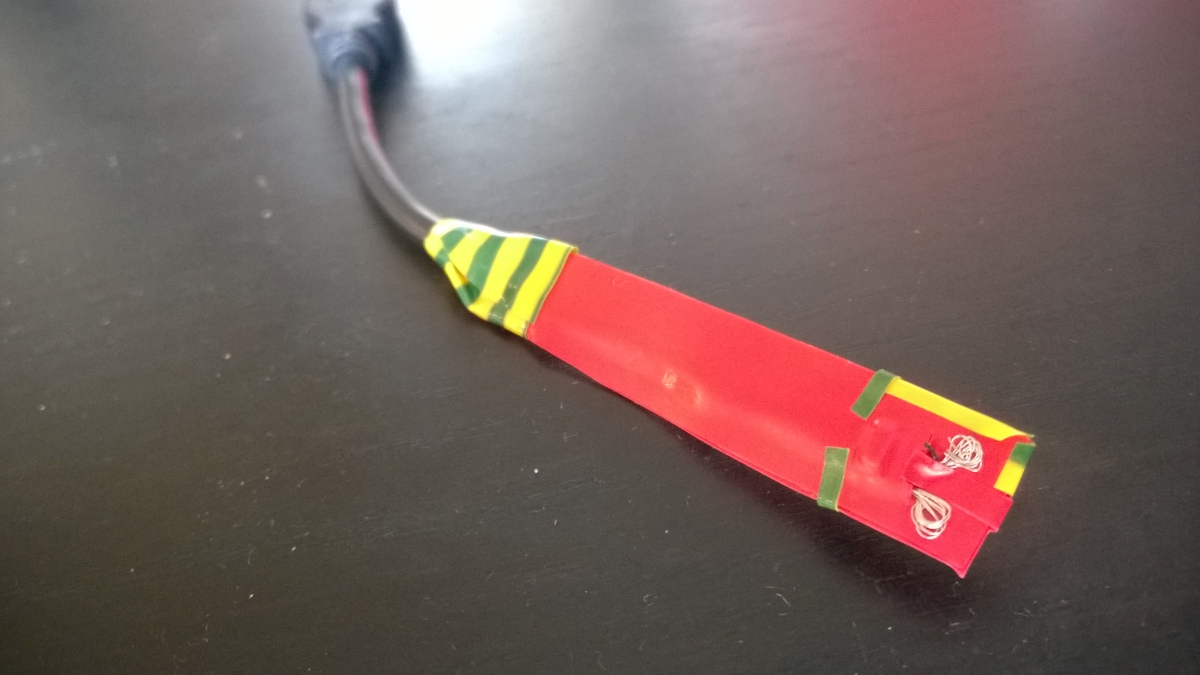
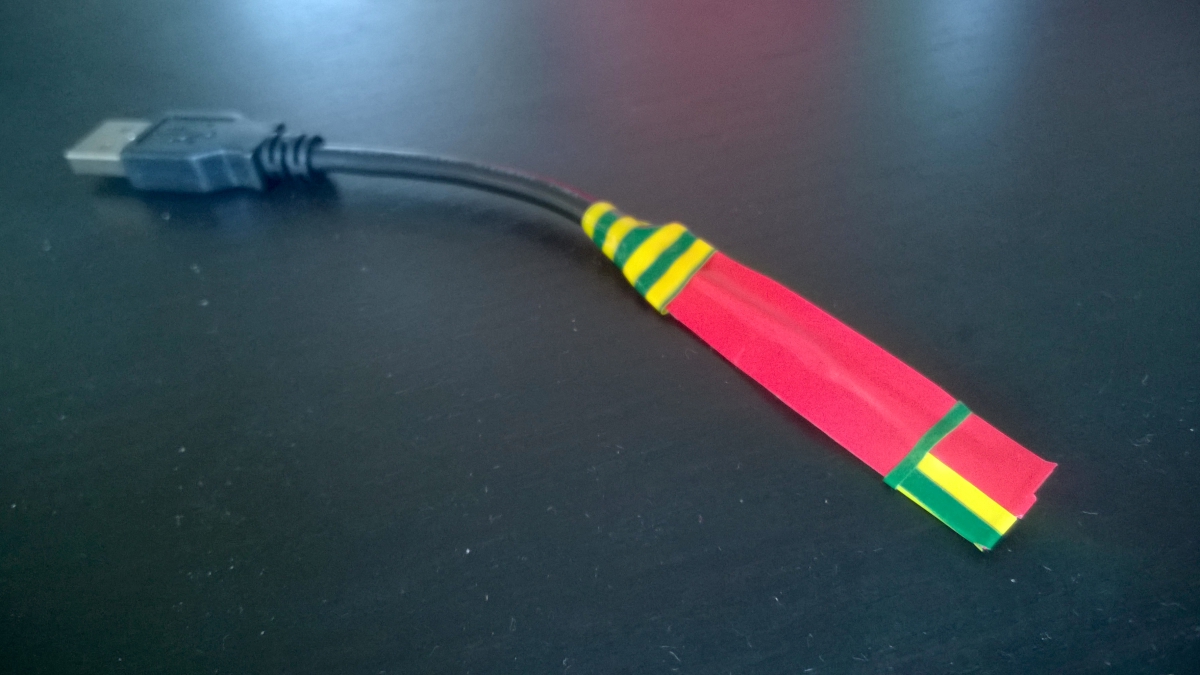
Here is a not-so-perfect drawing I made in Illustrator. I’m not very good with Illustrator so pardon the poor attempt.
Tape the end of the strip and the thick end of the cable to have a smooth trasition from strip to cable,
And you are done!
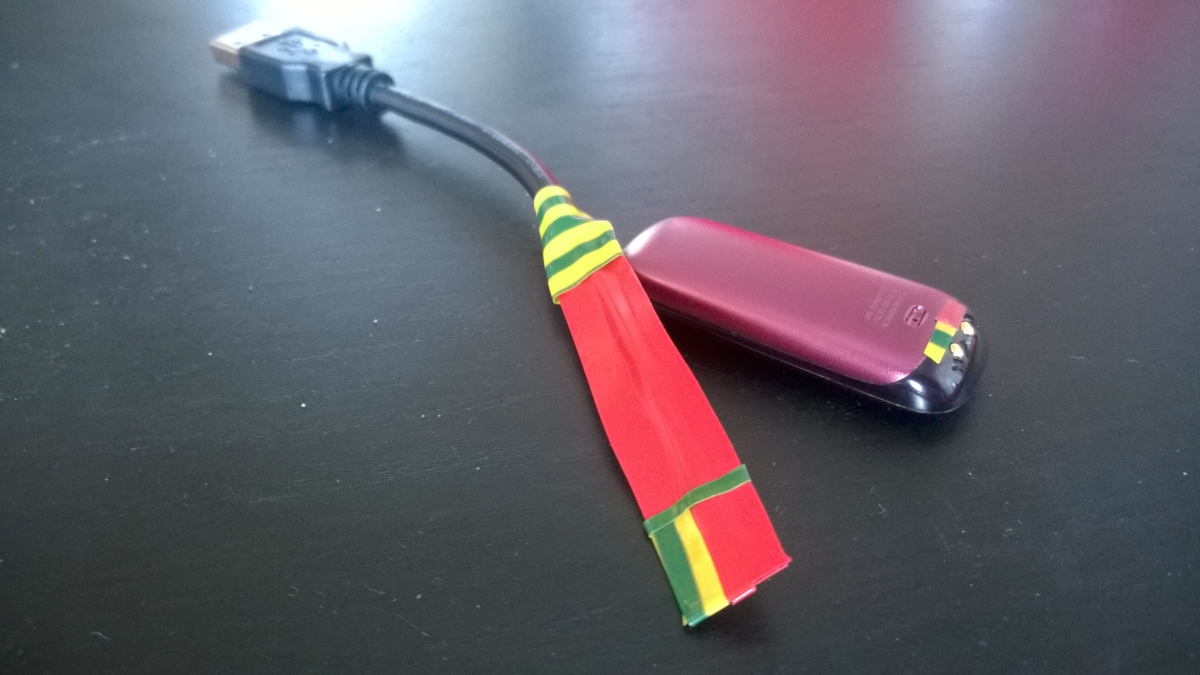
To charge first tape the strip down in the middle, then overlay some tape at the end of the strip to secure the strip to the FitBit, making sure the bump rests in the dent and the two wires are connected with the metal connectors.
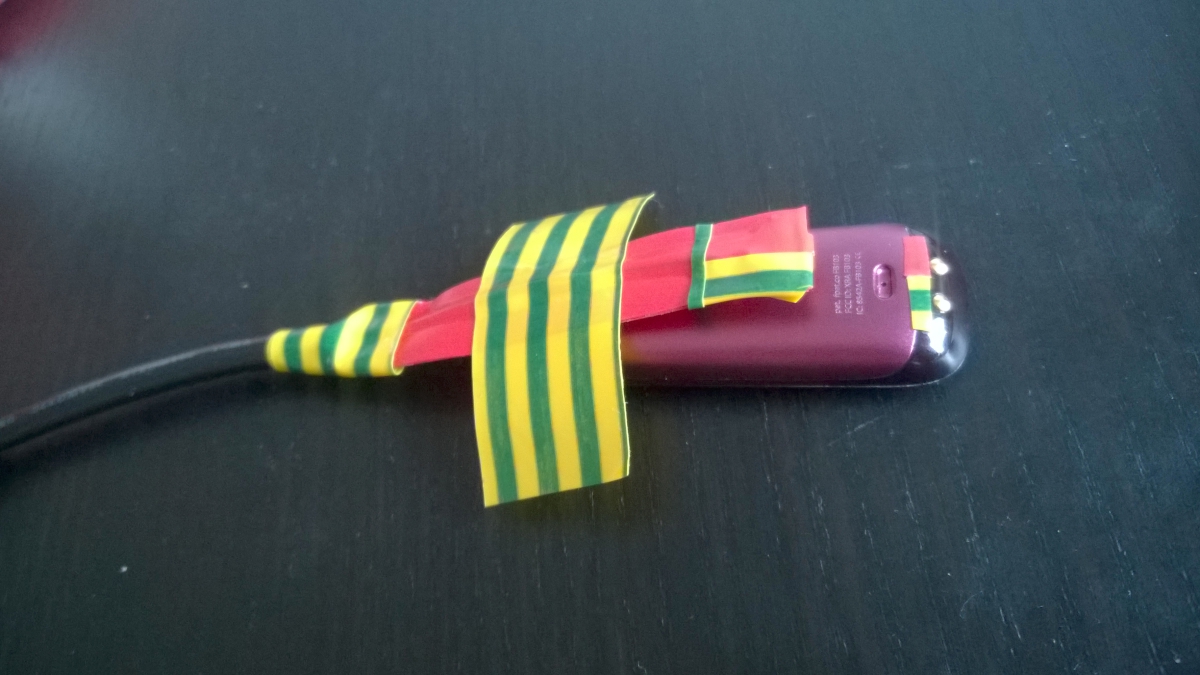
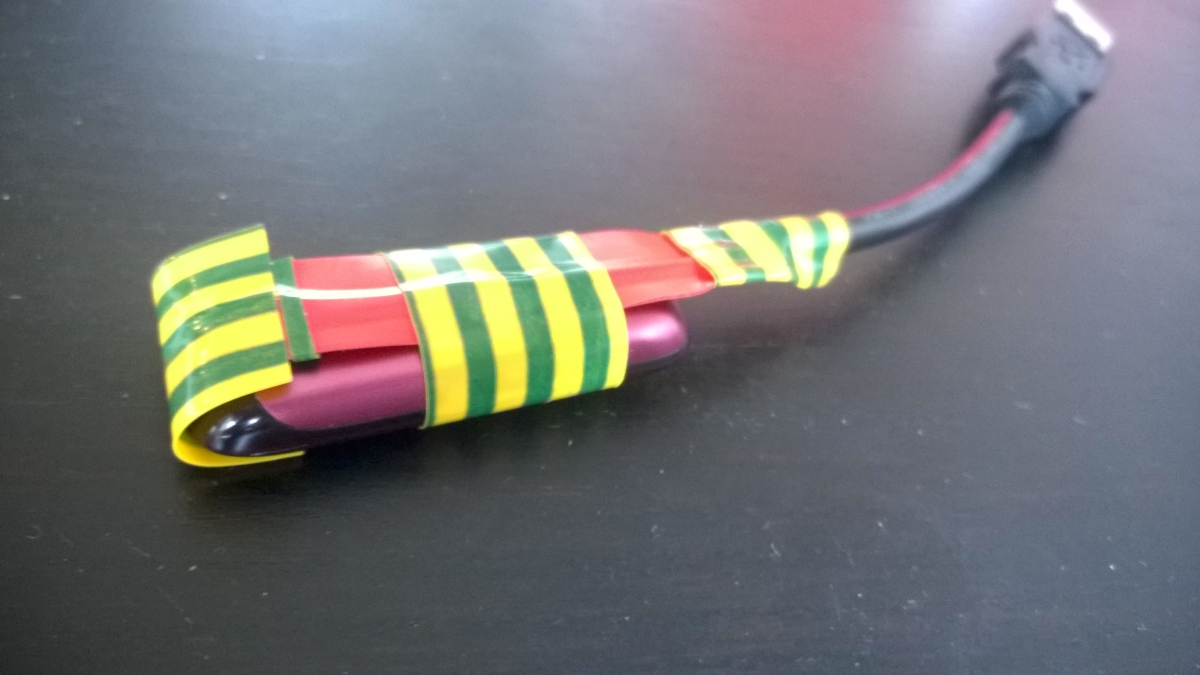
Always have both wires connected before plugin in the charger. So once they are secured into place, plug it into whatever you want to charge it with. Again, I would not recommend your PC, and make sure that you unplug before removing FitBit from the charger. Do not leave connected without you being there, 30 mins should be enough for a full charge.
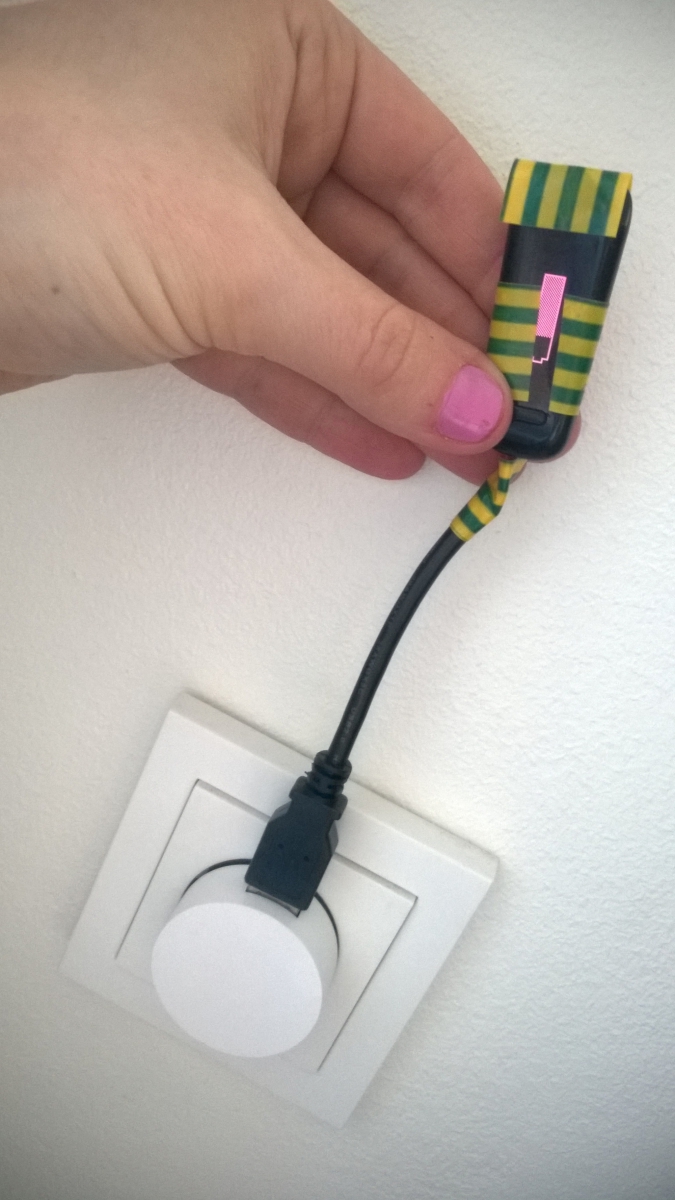
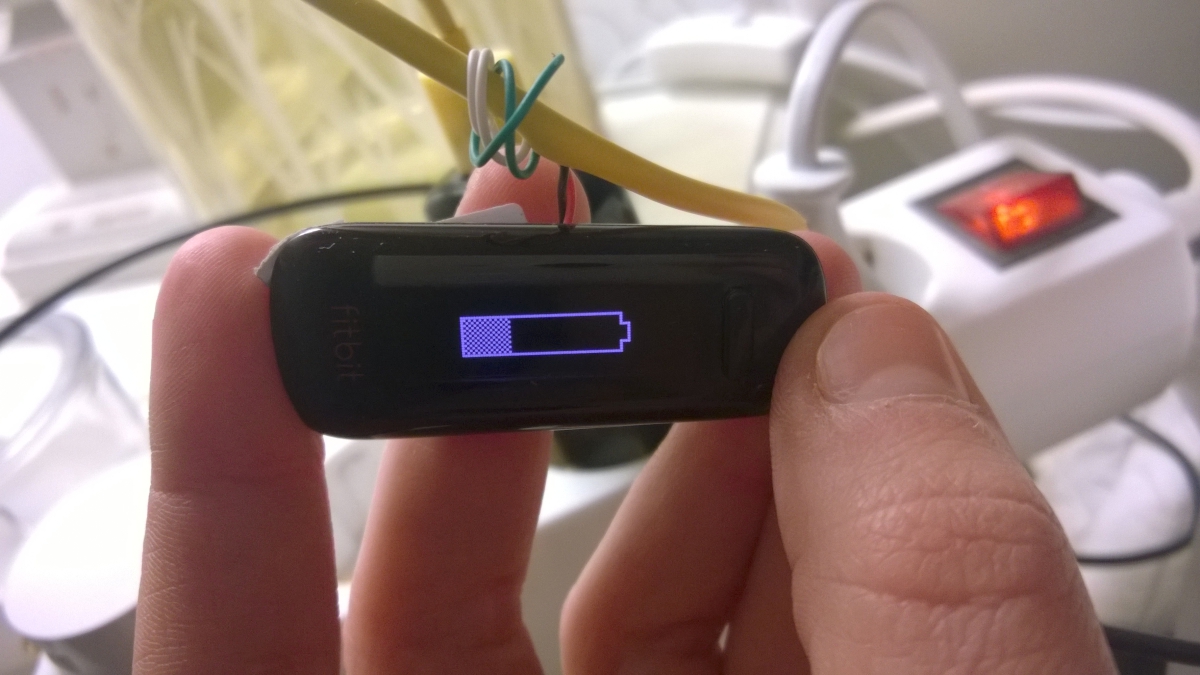
Sometimes you need to reset a FitBit that is completely emptied for batteries, this is done by holding down the button a few seconds untill charging icon is shown.
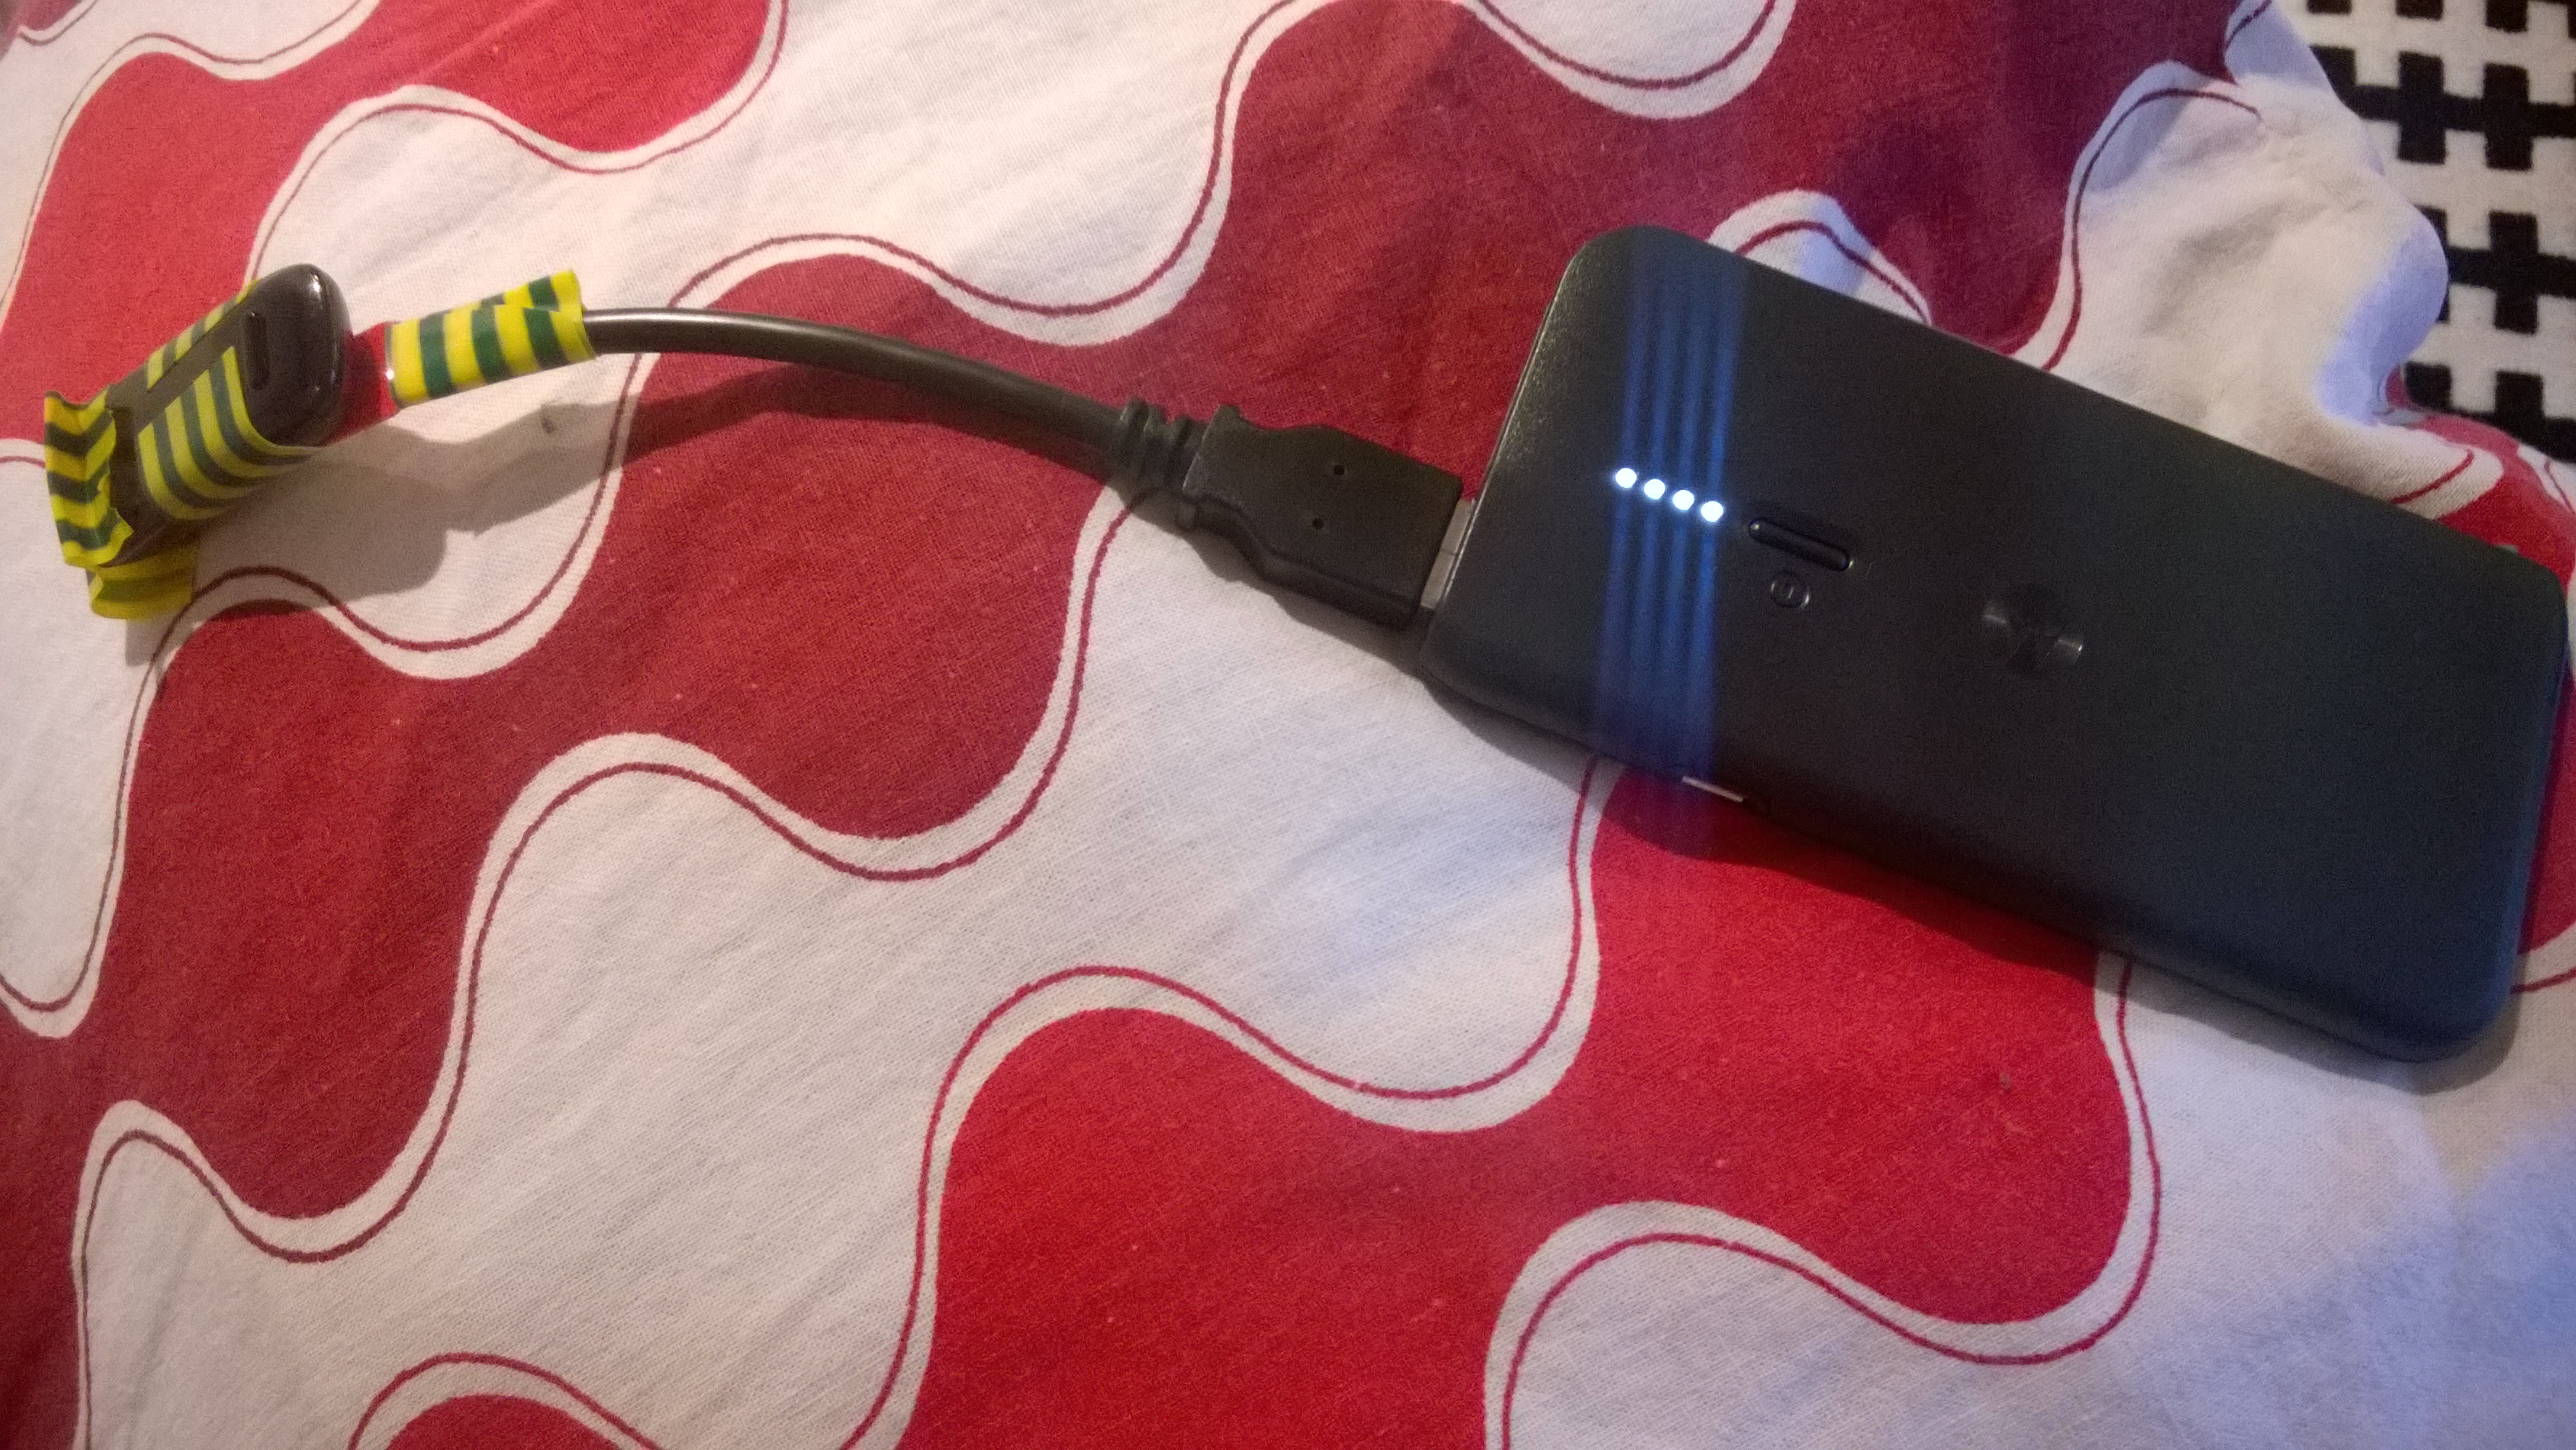
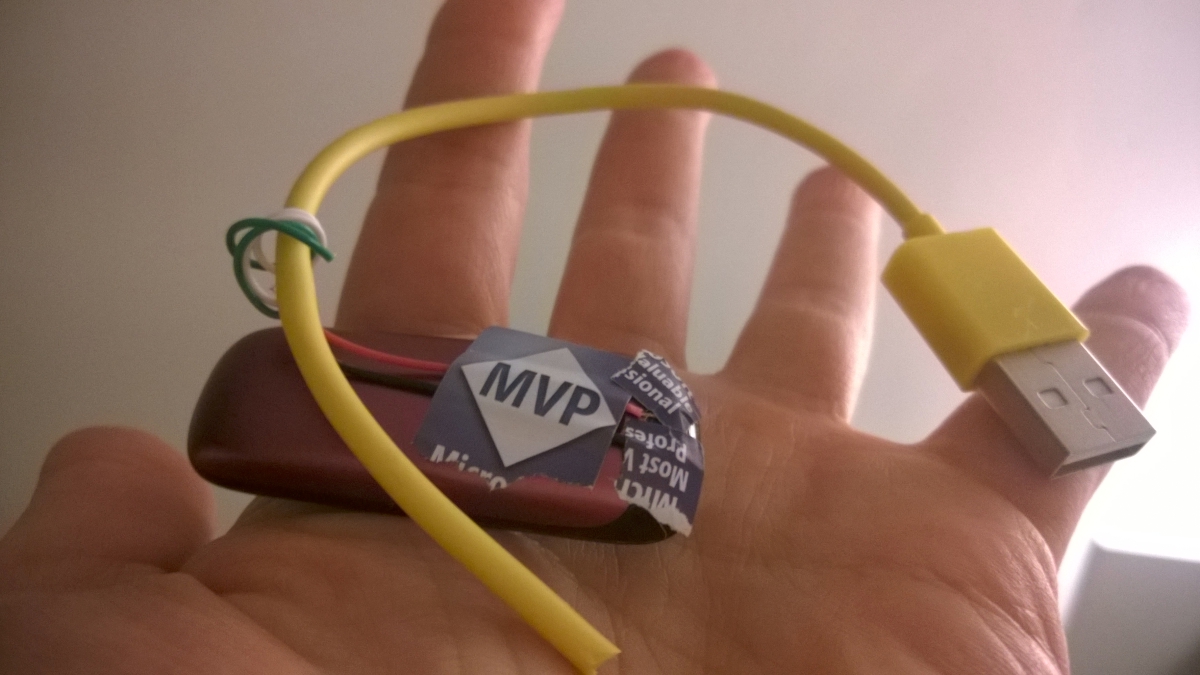
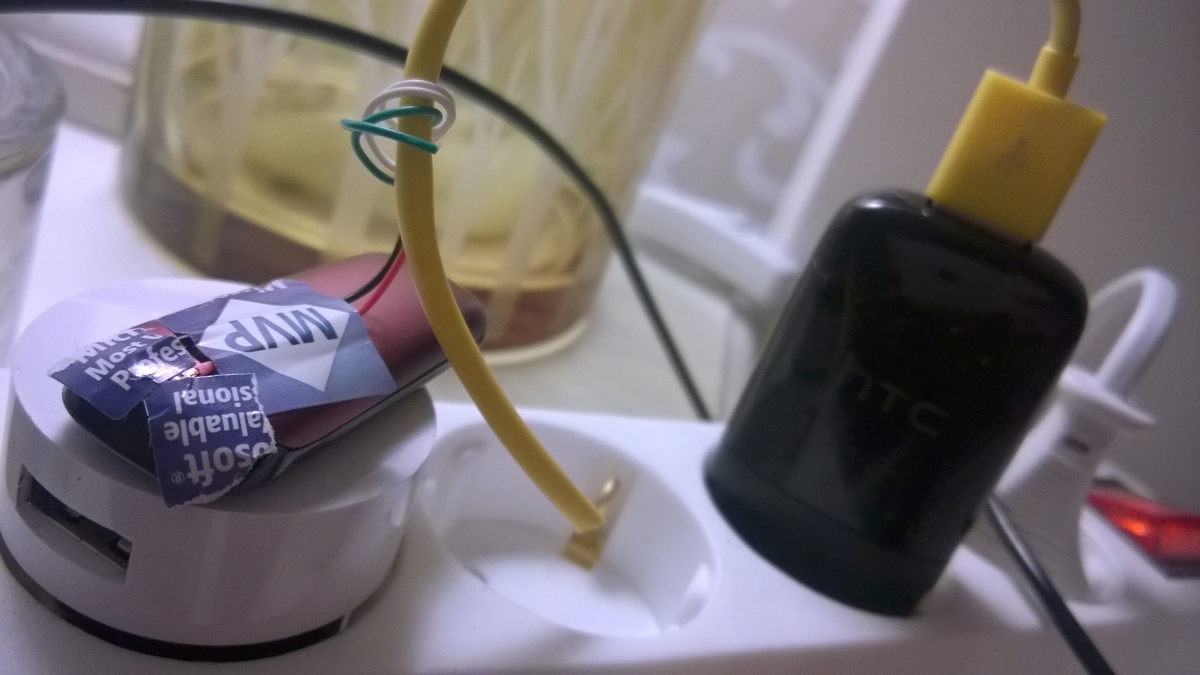
Here are my prototype photos, it was 2AM and I had no tape, but I did have an MVP sticker :D Not a very safe or reusable model ;)
Comments
This is a boy from China who picked up a FITBIT ONE and don't know  how to charge it . Thanks for your intelligence and the Internet which connect the knowledge of the human.
Xi an, China That is so cool, got to love the internet! Best of luck and thank you for taking the time to write!
worked great thanks
Worked great! Thanks for the tip!!
I followed your instructions and much to my chagrin. It worked. Your instructions were good but my charger is ugly and I had doubts but my steps are being counted thanks to you.
Great it works!!!

Thanks! It's simple, clear, and easy to complete.
Wow this was awesome. From a 19 year old girl and someone who has never done anything electrical in my life this was so easy to follow and only took me 10 minutes to figure out and complete. Great instructions, thank you so much!
Thanks for saving me! I couldn't find my charger and was almost out of power. I went for the your original option since I am hoping to find the charger and needed to get it hooked up quickly.
Needed a charge on my for bit one at work. Works like a charm!!!
cool and creative !
fitbit one offcial  charger is too expensive, we now have third party replacement charger for fitbit one at half price of that
for  the first 100 customers order this charger, we offer buy one and send another one as free gift, so , you get 1/4 price of official
http://www.nice-also-cheap.com/replacement-usb-charger-cable-for-fitbit-one-free-shipping.html
I followed the instructions and secured it with transparent tape to make sure the contacts were not touching and it is working. Note that I used a smaller cable that only had the red and black cables. Thanks.
Great idea. I have the Flex model and it has three pickups on the charging end of it. How do you determine what the three pickups/charging contacts are for? How did you determine the power side and ground side? How can I figure out my three contacts?
Thanks!
Polarity was the key. Also tape. Tape is good. Like others, my Fitbit One happily charging now.
Good idea works fine thanks!
Thank you so much for sharing this bit of "jerry-rig'n". I'm misplaced my charger, after a travel trip and feel I'll come across it somewhere, but needed the charge now. Your clear, concise instructions are wonderful. I made it in about 20 mins before bedtime and voila, it's a.m. and I'm charged for the day. Ever thought of writing a DYI Techno manual for us lay-folks...I'll buy one for sure! Have a great one. =^,,^=
LOl I also made it right before bedtime. Maybe that is when we have the best (AKA crazy) ideas?
Woho, another person saved from forking out for a new charger, or missing steps :)
A little tip in regards to the charging, if you have the charger but it wont charge, use some vinegar on a cloth to wipe the metal connector bits on both the FitBit and the charger (while unplugged)
Have a read on the Flex FitBit teardown, comments on step 4 https://www.ifixit.com/Teardown/Fitbit+Flex+Teardown/16050 "To answer for charging purposes. The center pin is positive. And while looking at the led side of the flex and the pins towards you, the right pin is ground." Use information at own risk :))
If it works,- it works :) Sucks missing steps when you are on a good roll!
Why should home made charger not be connected to PC ? Are the amp too high ?
Frankly I would be worried the hub might fry, at worst affecting other parts of the system. Maybe it's not possible, but I would rather not try :)
Works great. I used crocodile clips to connect to my fitbit. I just needed to know the polarity. Thanks
Thanks for this info.
Great help and stopped me having to pay £20 (as near makes no difference, approx  $32) for a charger.
thank you so much for this - look great instructions. I was just about to start doing this having lost my charger after a house move, when I looked in another pocket and found the original. Can't believe how expensive they are - the other fitbit chargers are only a few pounds.
did same with fitbit charge hr

http://postimg.org/image/5lcymanln/

http://postimg.org/image/azrq6o8hx/
Thanks so much, Iris. I took your idea one step further and used a plastic mouse trap I had lying around. The wiring sits underneath and connects to 2 small screws set the appropriate distance apart that come up through the top surface. I slightly reshaped the bar of death to hold the fitbit securely while charging. Works a treat as a semi-permanent item. Two minutes in total to make. You got me thinking about a host of other ideas.
I am not sure what I am doing wrong, I followed your steps to the letter, but it is not charging.
Works nicely on the Fitbit HR too. For anyone with the HR, the black goes to the side where the button is located. Easy to recall, button = black or BB. See post #20 @bojan for a picture. Thanks Iris!
Hey thanks for the tutorial they really should mark the polarity on these darn things XD. Do you know why mine doesnt show the little battery thingy? i tried holding the button for like 10 seconds but still no indicator
:( thanks for the help
Worked with my Fitbit HR as well. Great pictures, explanations and illustration. Thanks!
I wish the Charge HR had a slightly different configuration. On your model, the contact points are clearly separated but on mine, it's incredibly difficult to find the right spot and I was unable to achieve success like others seemed to have with their Fitbit One.
Bojan posted some pictures but I cannot for the life of me imagine what's underneath his/her little padding.
The contacts are so close, I'm nervous to fry my brand new toy! :-/
Can you please show me how to make a day fitbit flex charger? Desperately needing it.
Great article. I'm charging my Fitbit Charge HR.
Thanks for the tips. This will work until the $2.50 charging cable I got off eBay ships from China.
Great hack! However, your dentist would say... "Never use your teeth as a tool."
Thanks!!!!
Hi)Can you make a manual for the charger fitbit ultra?
Thank you for this!!! I didnt want to shell out all this $$ for a new fibit charger so I made this to last me until my Ebay purchase comes in. It works! I have a FitBit Flex.
You are so genius.  Thank you so much for the post.  It works.  I finally can use my fitbit again.

Thank you! Thank you!
Thanks for the article! I tried it with mine, and my FitBit got hot, so I unplugged it and switched the wires. (I figured that either if it was already dead, switching the wires wouldn't change anything!) Now it charges! I don't have a voltmeter with me on vacation, but it's working and I'm happy!
Awesome! Worked like a charm :)
Woot Woot!! Thanks a bunch that worked!!
Thanks for the info, I just want to add that the fitbit one has an internal 3 volt rechargeable battery, and a regular USB port provides 5 volts. The original charger supplies the correct voltage, and other Chinese made chargers available at ebay e.g., have a 3.5 volt zenner diode as a simple voltage regulator in line with the positive wiring so as to not provide over voltage and shorten the internal battery's life due to excessive voltage during charging. A zenner diode also provides protection against cross wiring, that is if you get the wiring the other way round. As long as you do not let it charge for too long, i.e. no longer than say 4 hours, then this will somewhat help prevent damaging the internal rechargeable battery.
Thanks for creating and sharing this life hack.
I found a fitbit one at work and turned it in, after 1 month we are able to keep what we find so now i have it. I didn't want to buy a charger in case someone eventually did come in and claim it so i want to make one. I found your DIY and it is great. It all works perfectly. I feel bad for the person that lost this, i know it isn't cheap to buy. Thank you for your ingenuity and sharing it with us.
Do you know if this will work for "restarting" the Fitbit one? First, thanks for this great explanation (i.e., understandable for the tech illiterate) and great photos!!

I need to "restart" my Fitbit one, which is described as plugging the One into the charging cable and holding down the button.  I believe it says to connect via PC/computer but it doesn't say that it needs to be linked to any computer based program or the online dashboard at the time.

Just checking to see if anyone has been able to restart theirs this way.
Thanks bojan and Iris, I was able to use this for a Charge HR charger!
Thank you so much! I made one today for my fitbit hr and it is at full charge now. Your instructions were excellent! I am 52 and have never attempted any electrical work.
Can this also be used on the fitbit ionic??
Could I use this for a fit bit Alta?
Last modified on 2014-03-08
