Implementing a SettingsFlyout (settings pane) in Windows Store Apps 81
Time for me to start updating the old blog posts on Windows Store Apps, or rather- provide the Windows 8.1 equivalents. The first one is the Settingspane blog post. Previously you had to either hand craft one, or pull in a third party library. Now a control has been provided which makes it easier to add a Settingspane to an application.
Here is how you do it: (and yes, images and code is same as in the answer I provided on StackOverflow, they dislike links as links die, so therefore the duplication.)
Right click on project and select :
Add => New => SettingsFlyout
**
clip_image002**
Then you simply register your commands.
Commands are the text links that the user will see in the *system* settings pane- the one that you cannot change the look of. This one: [
clip_image004](https://inlovewithcode.azureedge.net/wp-content/uploads/2014/02/clip_image0041.png)
Here is how to add the command, and have the MySettingsFlyout that we created open. In the App.cs we will override the OnWindowCreated and wire up the event handler there, and then set our commands with the right Flyout.
[sourcecode language=“csharp”]
sealed partial class App
{
    public App()
    {
        this.InitializeComponent();
        this.Suspending += OnSuspending;
    }

    protected override void OnWindowCreated(WindowCreatedEventArgs args)
    {
        SettingsPane.GetForCurrentView().CommandsRequested += OnCommandsRequested;
    }

    private void OnCommandsRequested(SettingsPane sender, SettingsPaneCommandsRequestedEventArgs args)
    {
        var setting = new SettingsCommand("MySetting", "MySetting", handler =>
            new MySettingsFlyout().Show());
        args.Request.ApplicationCommands.Add(setting);
    }
// other stuff
[/sourcecode]
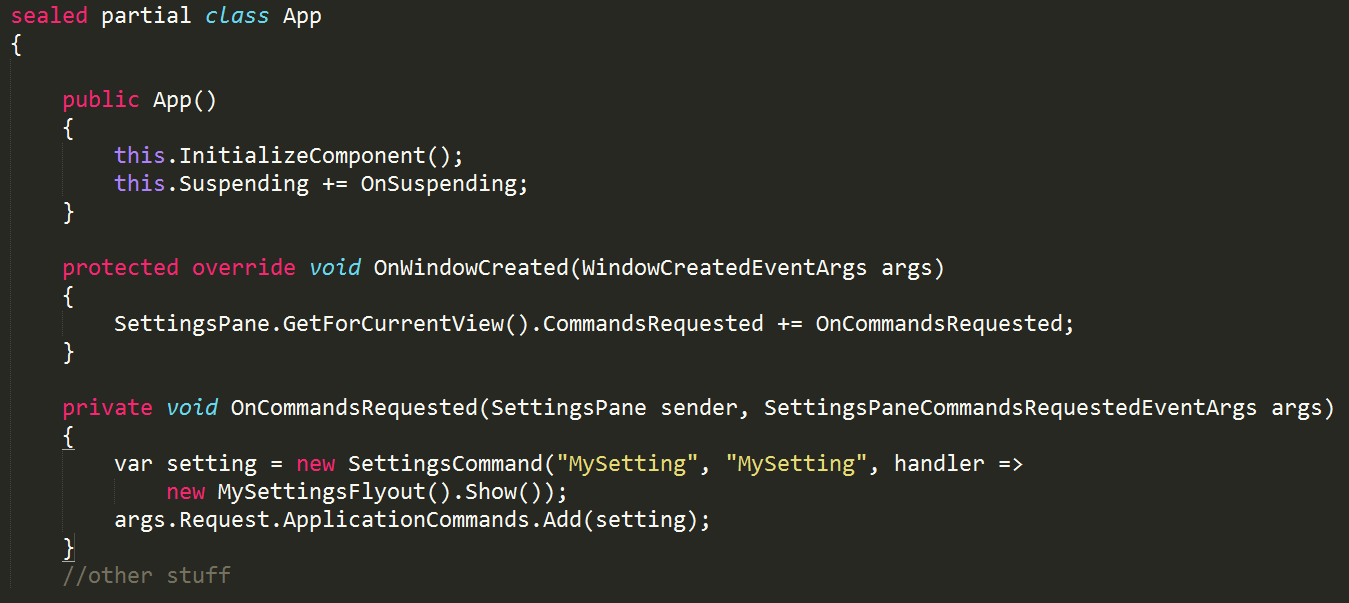
In case the gets all messed up again, here is an image of the code above.

The result of this should be that once you click on the Settings command the flyout that was created should be opened, giving this result:

clip_image008
Comments
Leave a comment below, or by email. Hafiz Faraz MukhtarLarsHi! Nice blog, There is one thing that I ran into when implementing a settings flyout. The first parameter to the SettingsCommand is an object, and it is supposed to be a GUID. Intellisence says object, but if you use a String you might get exceptions ( as I did) Creating a Guid with Guid guid = new Guid(); and feeding it to the method solved my problem. /LarsGianfrancoAwesome tutorial. Fantastic!!! :)
Last modified on 2014-02-07
